Pay with cash offline
- Skill required
- Basic Web Programming
In this tutorial, we will see how to implement an online order with an offline payment.
To do so we will add a form to login from the homepage directly.
Prerequisites:
- URL for a Website hosted on DjaoDjin (ex: livedemo.djaoapp.com) - Register
- API Key to connect the hosted Website (ex: ABC***123) - How do I get my API Keys?
Notes on command line snipsets
On command line snipsets, lines starting with a $ character indicate
a shell prompt, or a command for you to type. Lines that do not start
with a $ character show a sample output from that command.
Example:
$ whoami
ec2-user
Text edits within source files are shown in universal diff format with lines preceded by a '-' sign to be removed and lines preceded by a '+' sign to be added. Example:
 def set_default_profile():     # This line for context, to be kept as-is
-    profile = 'abc'            # This line to be removed
+    profile = 'cde'            # This line to be added
     return profile             # This line for context, to be kept as-is
The full source code for this tutorial is available on GitHub.
Setting up
You should be familiar with the steps to setup your development environment and run an edit/run/debug cycle against the APIs. If it is not the case, I recommend you read the Write Javascript locally; test against hosted APIs tutorial first.
We create an active plan for $19/month through the dashboard that we will call "Tutorial Offline".
Plan
- Title: "Tutorial Offline"
- Description: "Testing pay-offline tutorial"
- Unit: usd
- Period amount: 19.00
- Period type: "monthly"
- Period length: 1
Once this is done, we download the base.html, _generic_navbar.html and _form_fields.html theme templates to have a basic theme to build on.
$ djd download
$ unzip *livedemo*.zip
Then we start the local server. Note here that we have edited the local server and templates so we can pass the DjaoApp API endpoint on the command line.
$ DJAOAPP_API_BASE_URL="https://*livedemo*.djaoapp.com/api" uvicorn main:app --reload

API call sequence
The source file livedemo/public/static/js/pay-offline.js contains the code behind each step.
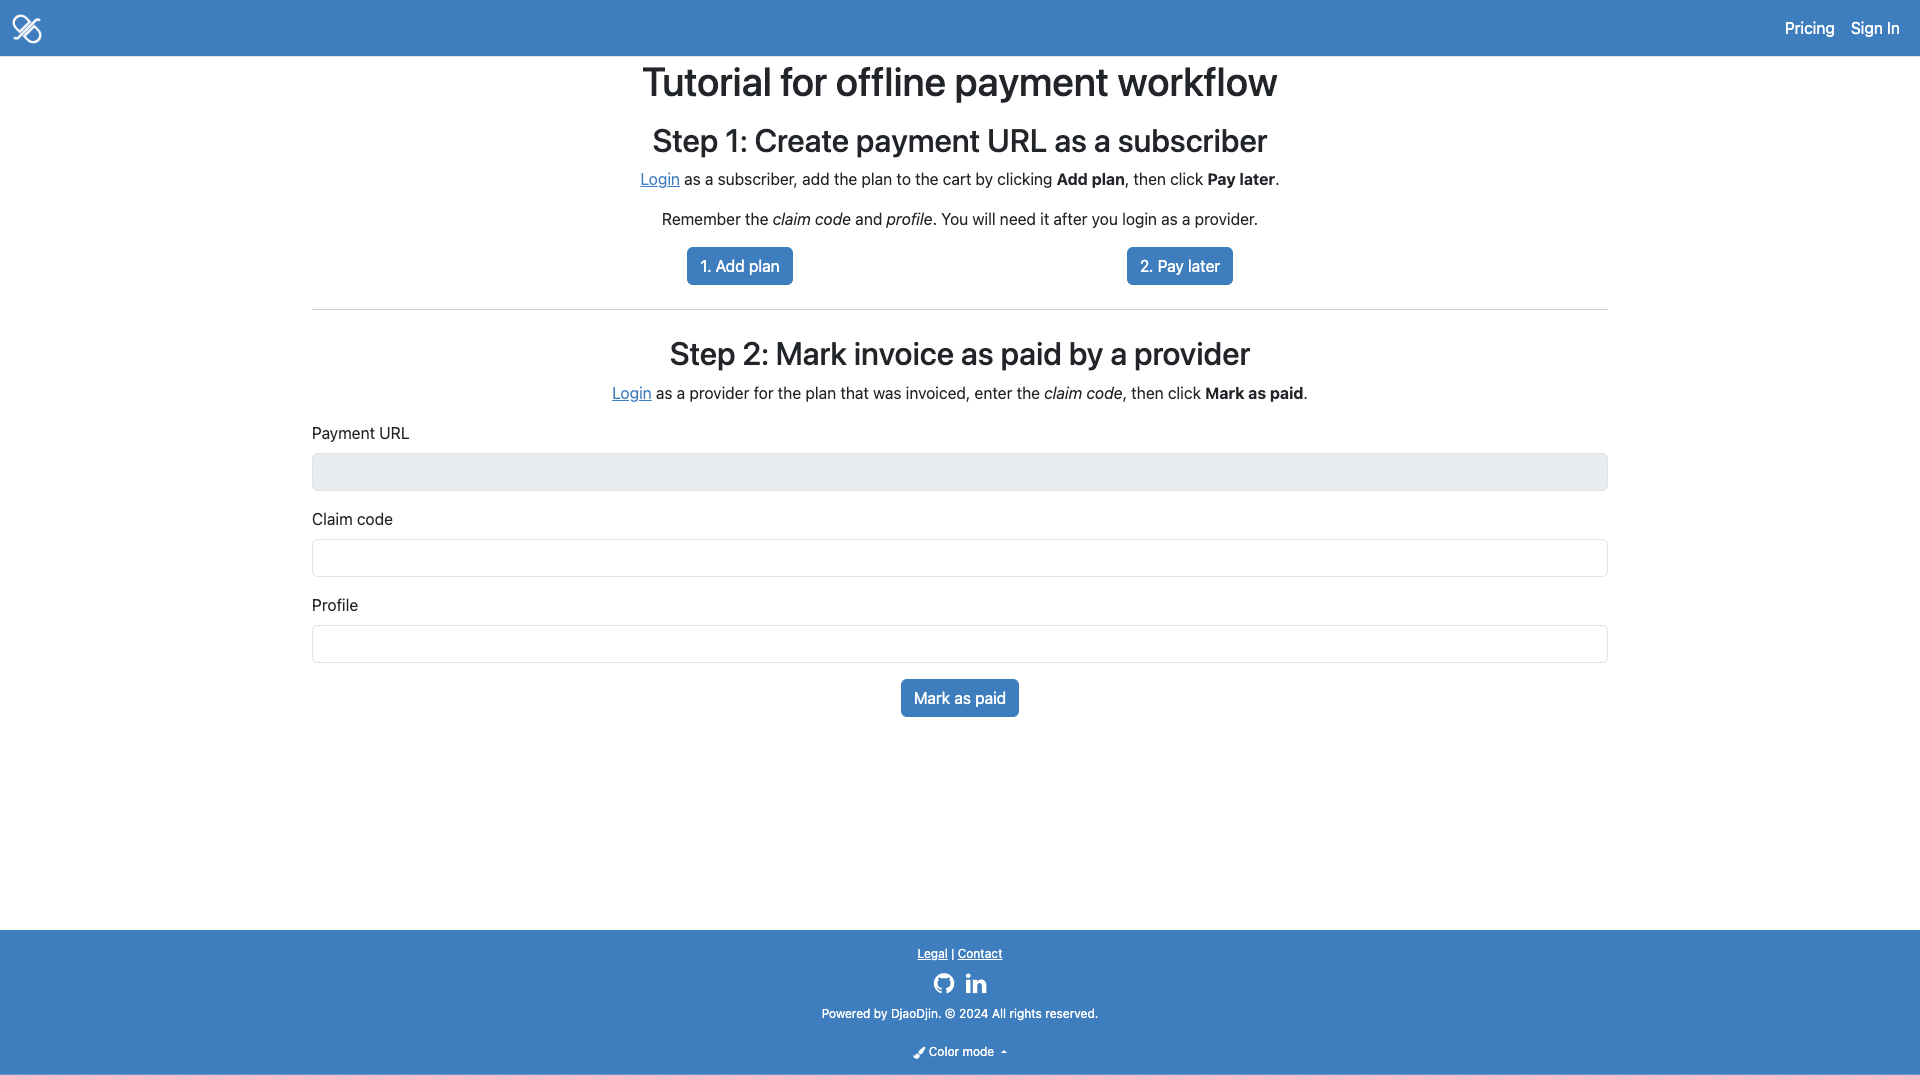
First, we add a plan into the user cart (see addToCart).
let headers = {
    'Content-Type': 'application/json',
    'X-CSRFToken': getCSRFToken(),
}
const authToken = sessionStorage.getItem('authToken');
if( authToken ) {
    headers['Authorization'] = "Bearer " + authToken;
}
const resp = await fetch(API_URL + "/cart", {
method: "POST",
    credentials: 'include',
    headers: headers,
    body: JSON.stringify({plan: plan})
})
The Cart API works with authenticated user and anonymous visitor.
To accomodate anonymous visitor, cart items are stored as session data
keyed on a session cookie. Since we are loading the Javascript code
on a different domain (localhost) than the API (*livedemo*.djaoapp.com)
here, we need to deal with CORS requests. That means passing
credentials: 'include' to fetch. A result of the credentials: 'include'
argument is that we also need to pass the CSRF token as a header, otherwise
the API call would fail with a permission denied.
After authenticating as a subscriber, we click on the Pay later button
to execute the order and create a payment URL for the invoice to be paid later
(see createPaymentURL).
const resp = await fetch(API_URL + `/billing/${profile}/checkout/paylater`, {
    method: "POST",
    headers: {
        'Authorization': "Bearer " + authToken,
        'Content-Type': 'application/json'
    },
    body: JSON.stringify({})
})

const respData = await resp.json();
const paymentURL = resp.headers.get('Location');
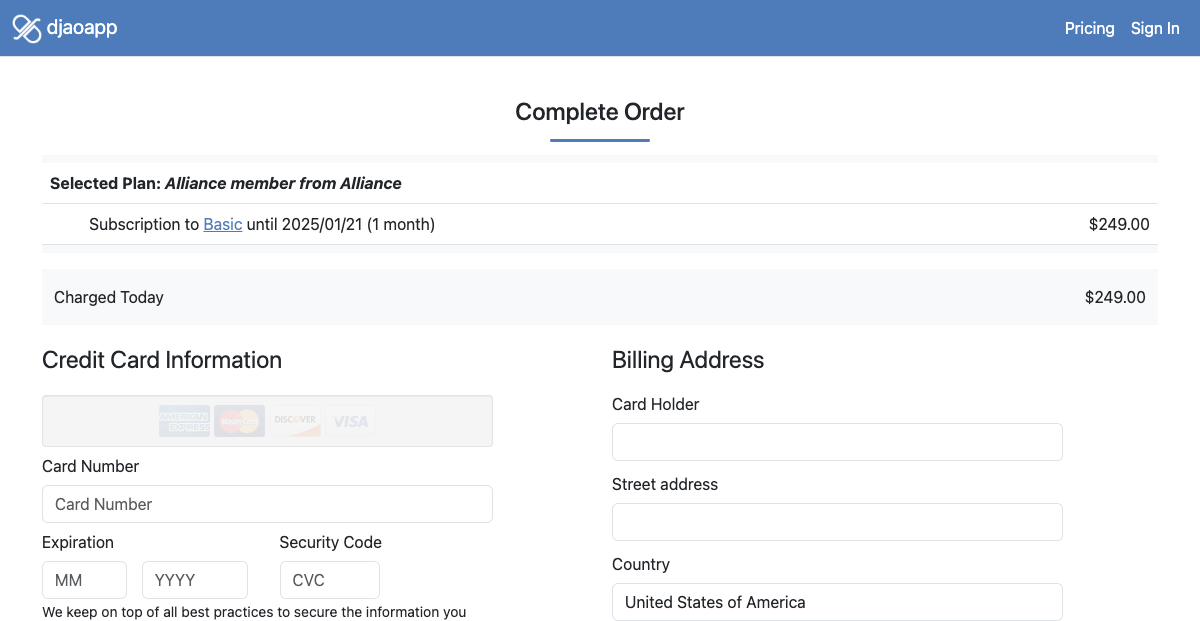
At this point we can either browse to the payment URL to pay the invoice online, or mark it paid offline.

In this tutorial we are assuming the provider receives the payment offline
(ex: as cash), at which point we erase the balance
associated with the payment URL by marking it paid (see markAsPaid).
Login as the provider, then click on the Mark as paid button.
const resp = await fetch(API_URL + `/billing/${profile}/payments/${claimCode}/collected`, {
    method: "POST",
    headers: {
        'Authorization': "Bearer " + authToken,
        'Content-Type': 'application/json'
    },
    body: JSON.stringify({
        paid: true
    })
})
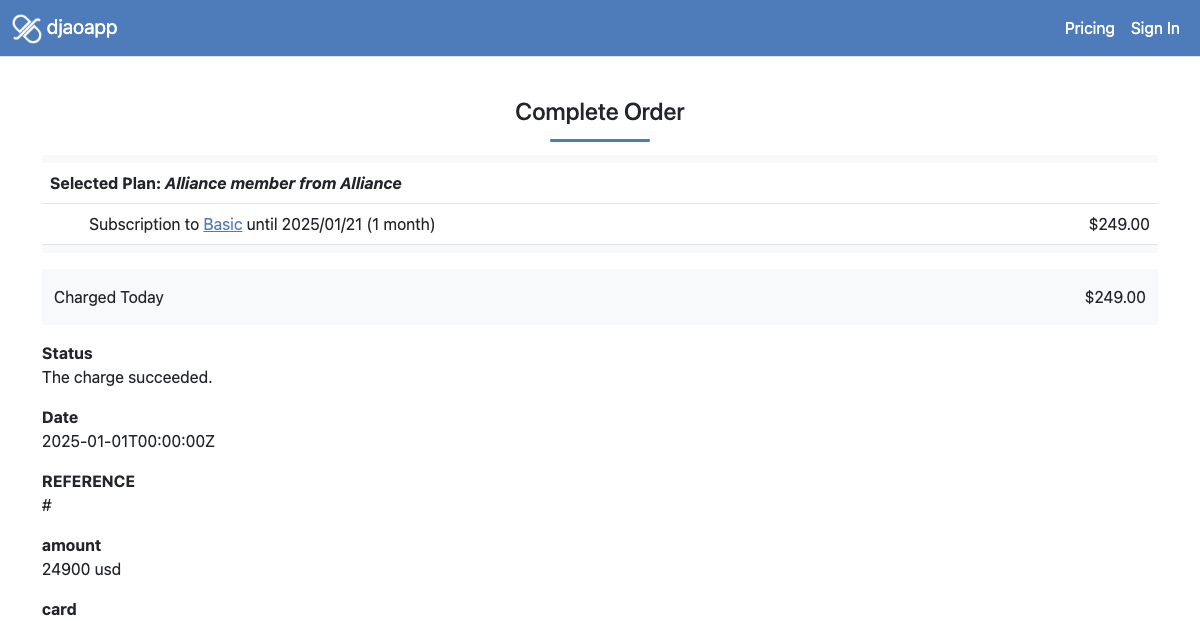
We can then check the payment was recorded properly by browsing to payment URL shown previously.

- Need help?
- Contact us
- Curious how it is built?
- Visit us on GitHub