Bringing ESG Survey data to Power BI: A first attempt
by Morgan Shorter on Wed, 16 Oct 2024
 Leveraging Power BI to extract insights from ESG data produced by
TSP
is something that several of our customers have expressed interest in.
To facilitate this, we have been working on ways to make that process
easier. Sebastien spent time adjusting the formatting of our datasets
to make it compatible with the widest possible range of Power BI
instances. Meanwhile, I have been working on backend code that will
automatically update models / data views in Power BI as new survey
data comes in.
Every man for himself
Some background on the task ahead:
Each of TSP’s customers will have access to, and interest in, different datasets. Each customer will also have their own Power BI instance(s), and associated Microsoft Azure/Office resources. All of this means that whatever we come up with has to work plug-and-play with each customer’s setup individually—setting up a singular shared resource won’t cut it.
This also implies some additional complexity: There are different types of power bi instances, and each type has a different selection of data formats it can ingest, query types it supports, data sources it can fetch from, and rules about which data sources can be “refreshed” automatically. These variables are outside of our control, and aren’t things we can expect to know in advance.
After trawling through Microsoft’s online documentation, I managed to find something at the center of the venn diagram of potential configuration options that would suit out purposes.
Both Power BI Online, and Power BI On-premise, support importing datasets from CSV, CSV-Long, and XLSX files stored on either SharePoint or OneDrive, regardless of Data Gateway configuration. Better yet, configuring the Data Gateway or Power BI to do a “scheduled refresh” is not required:
"Both Power BI and OneDrive are in the cloud, and Power BI connects to your file on OneDrive about once an hour. If Power BI finds any changes, it automatically updates your Power BI semantic model, reports, and dashboards.
[…]
Saving your Power BI Desktop files to a SharePoint team site is much like saving to OneDrive for work or school. The biggest difference is how you connect to the file from Power BI. You can specify a URL or connect to the root folder."
The decision to use SharePoint over OneDrive was already made for me, so All I needed to do was find a way to get the required datasets into customers’ SharePoint instances.
I found an open-source library (Office365-REST-Python-Client) and got to work figuring out how to use the SharePoint API.
Enter the Add-In
SharePoint allows headless daemons to access to its API by generating an API key and creating what it calls an Add-In. An add-in would allow us to push our datasets to customer SharePoint sites automatically. Perfect, except it kind-of doesn’t exist anymore.
Winds of Change
SharePoint, Office, and indeed Microsoft itself, have been evolving rapidly over the last several years. The name “Add-In” is actually only relevant here in a historical sense. In fact, so much of the Microsoft ecosystem’s nomenclature has been depreciated, halfway replaced by a new technology, or reused to describe something wholly different, that I spent an embarrassing amount of time just trying to figure out which Microsoft documentation was even still relevant.
A prime example of the ever-shifting quicksand of MS ecosystem is Azure “ACS”, which used to stand for “Access Control Services”, but now stands for “Azure Communication Services”—a completely unrelated product. That is, unless you ask one of those questionable search engine AIs, which might tell you it stands for “Azure Container Service”. In any case, the ACS we need for in order to create an API key for the SharePoint API is “Access Control Services”. That ACS has been fully retired and replaced by AzureAD. AzureAD has, itself, now been superseded by Entra.
Application Registration
After following the trail of depreciacation warnings and product announcements, I figured out that the spiritual successor to the add-in is the Enterprise Application, which can be registered in Entra.
Armed with that knowledge, I attempted to follow along with the official documentation on AzureAD auth for Sharepoint API and the SharePoint API setup wiki page for the library I had chosen.
The first step in both guides is to generate an x509 certificate. Symmetric keys, like the ones used by ACS, are no longer supported on the SharePoint API. Currently, only RSA x509 keys are supported.
openssl req -x509 -sha256 -nodes -days 365 -newkey rsa:2048 -keyout testsharepointentra.key -out testsharepointentra.crt
cat testsharepointentra.crt testsharepointentra.key > testsharepointentra.pem
It isn’t actually necessary to do this step first, but you will need a key pair and certificate in order to set up authentication.
Next step is registering an Azure AD application in the Azure Active Directory tenant that is linked to your Office 365 tenant. To do that, open the Office 365 Admin Center (https://admin.microsoft.com) using the account of a user member of the Tenant Global Admins group.
— Granting access via Azure AD App-Only
The above step didn’t work for me at first. I thought to myself “Perhaps I can do this without being an admin,” and skipped ahead to the next step.
Skipping straight to the Azure Portal (https://portal.azure.com/), however, did work. The docs then instruct you to:
Once having access to the Azure portal, select the “Azure Active Directory” section and choose the option “App registrations”.
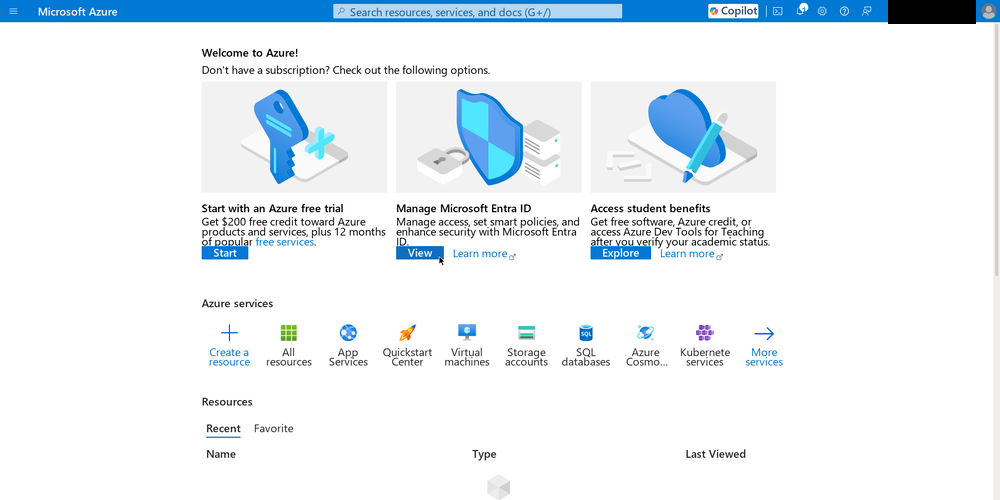
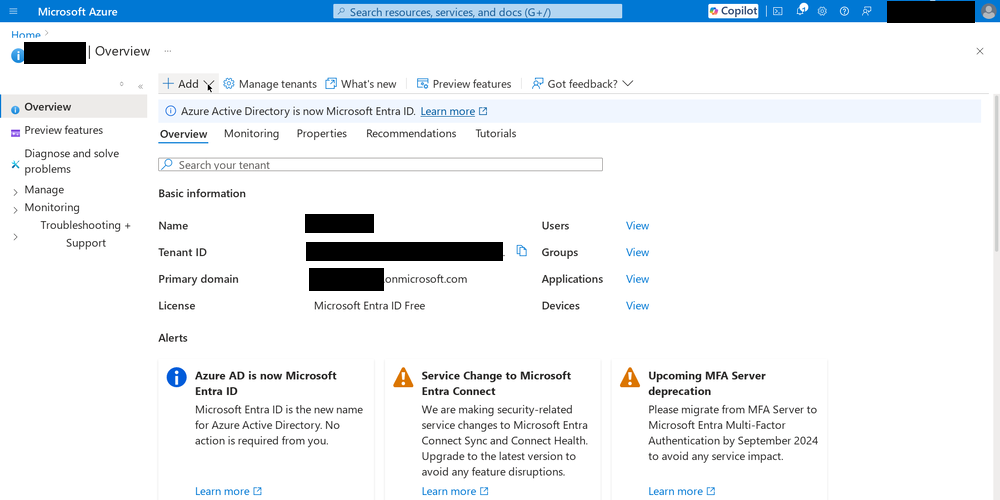
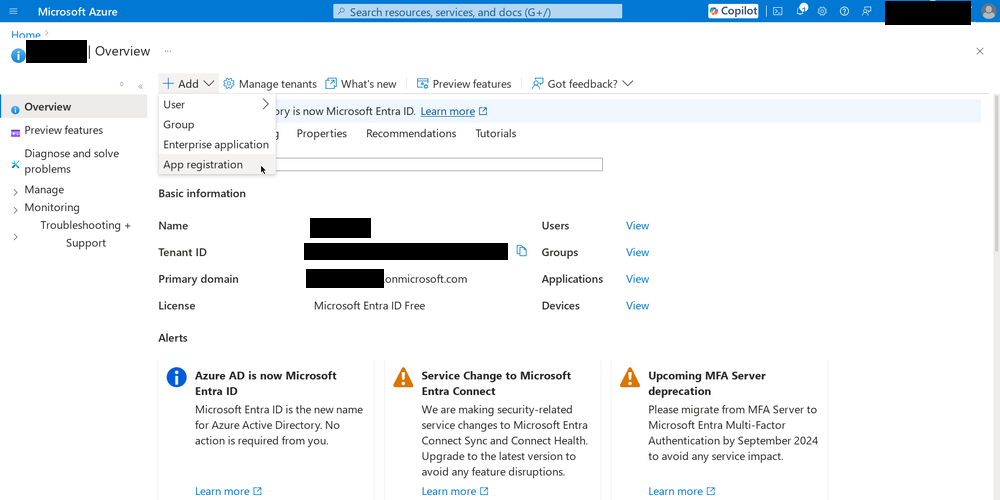
Things have be renamed and moved around, so this step will have to be adapted. Click the “View” button under “Manage Microsoft Entra ID”. Click the “+ Add” Dropdown menu and select “App registration”.
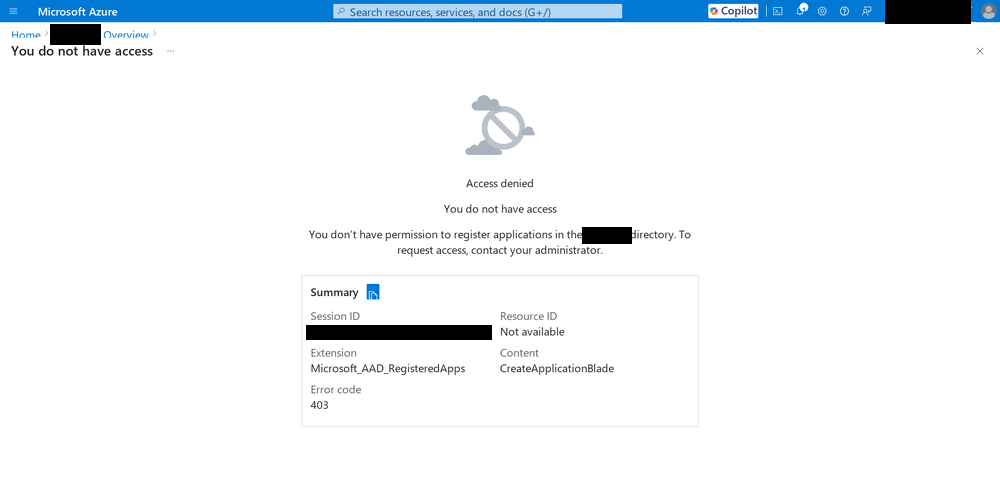
As it turns out, you do have to be an administrator.
Though it was not yet apparent to me, unintuitive auth rules would be a recurring theme during this project. After Sebastien helped troubleshoot my user accounts and roles, I was back on the road.
It is possible to reach the app registration form from both the Admin portal and the Azure portal. If you start at the admin portal, you’ll need to click through the sidebar to “Show all”, then “All admin centers”, then “Microsoft Entra”.
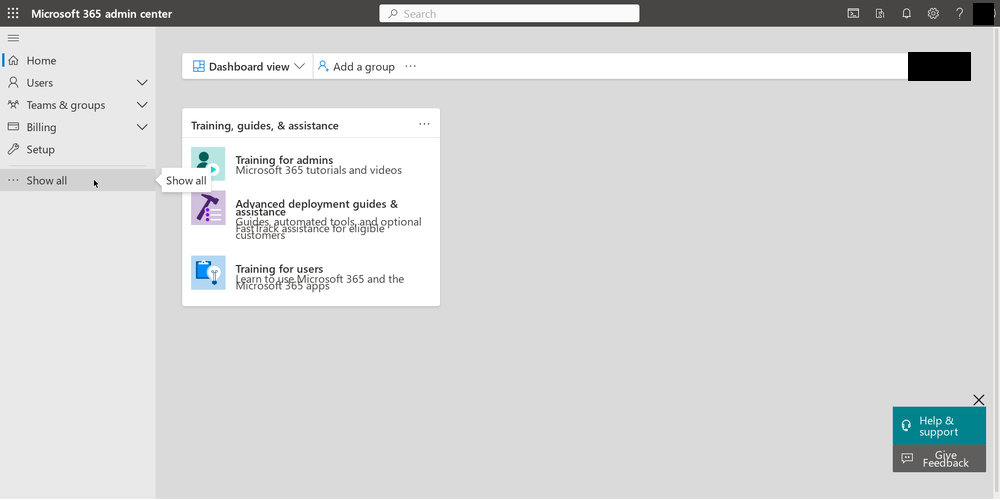
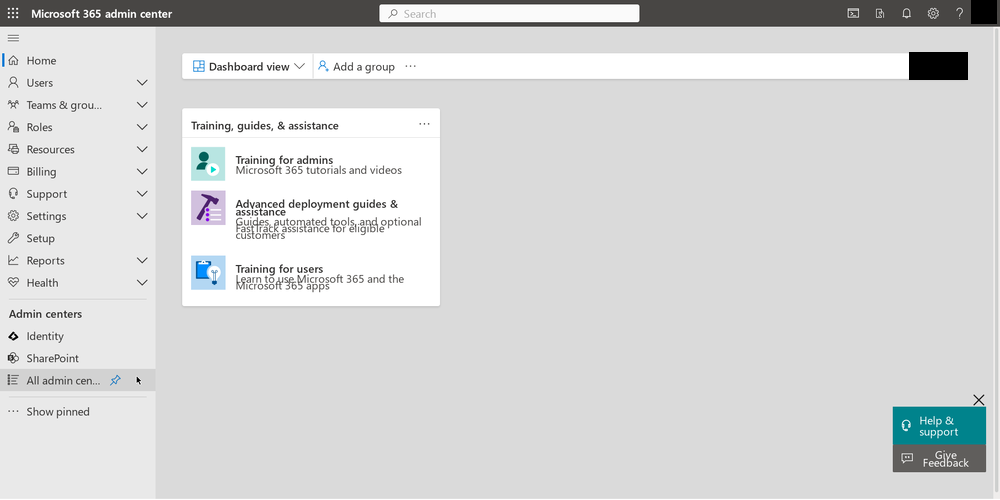
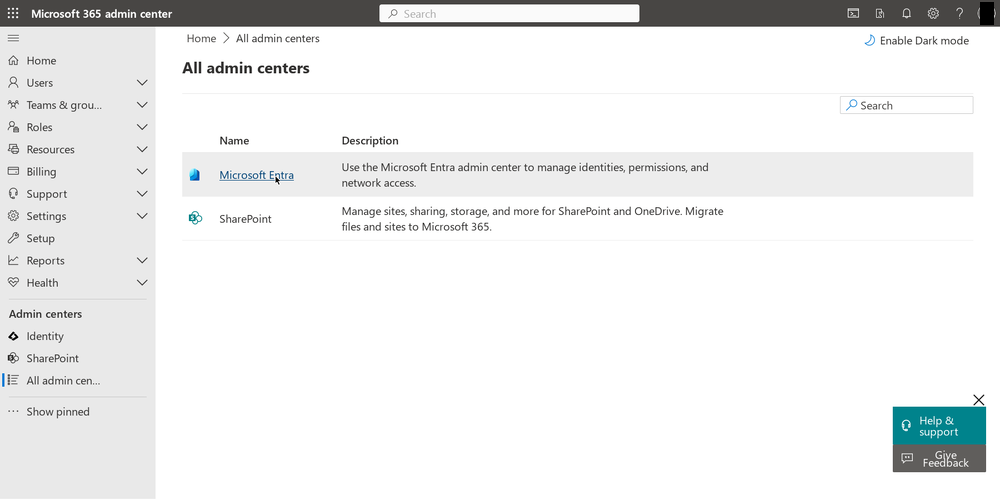
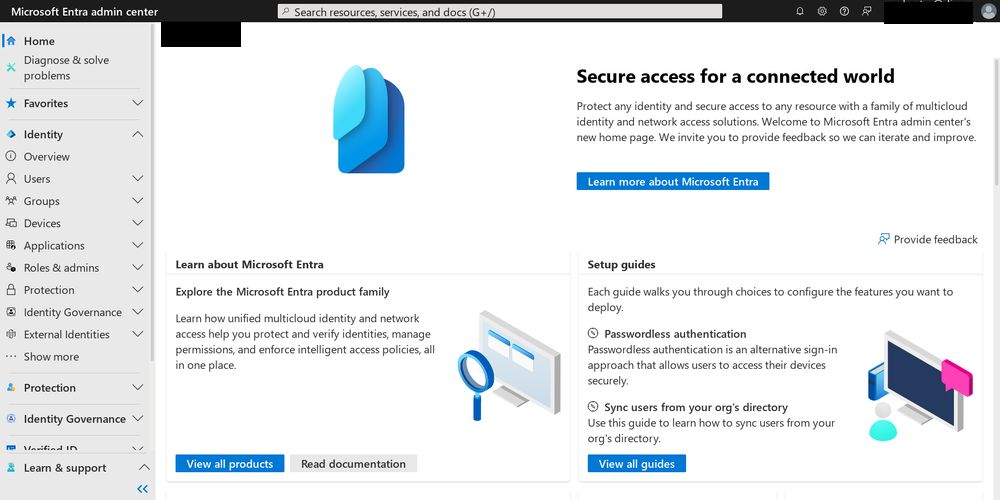
This will take you to the Entra Admin Center (https://entra.microsoft.com/#home). For the rest of this I used the Entra Admin Center via the Admin Portal, since all of the required steps can be performed through this portal—no Azure Portal required.
And so, finally, I was able to continue registering the application.
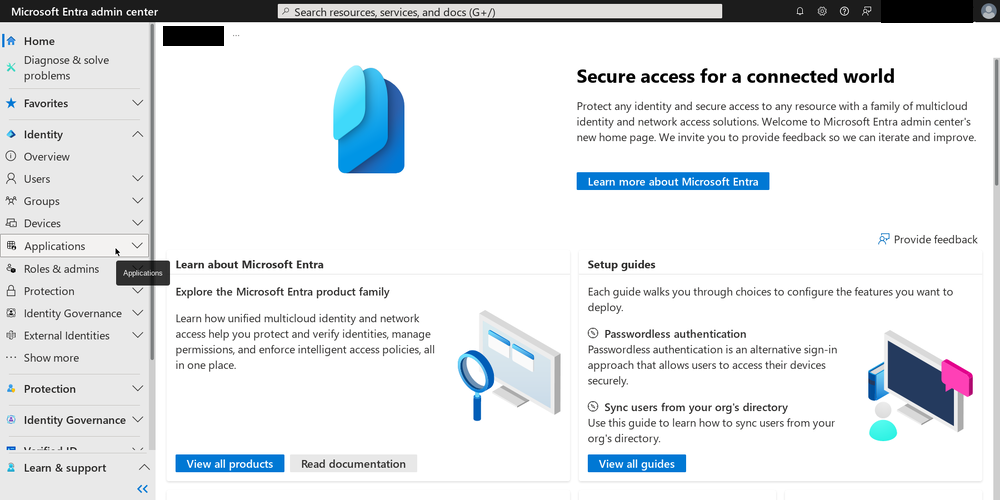
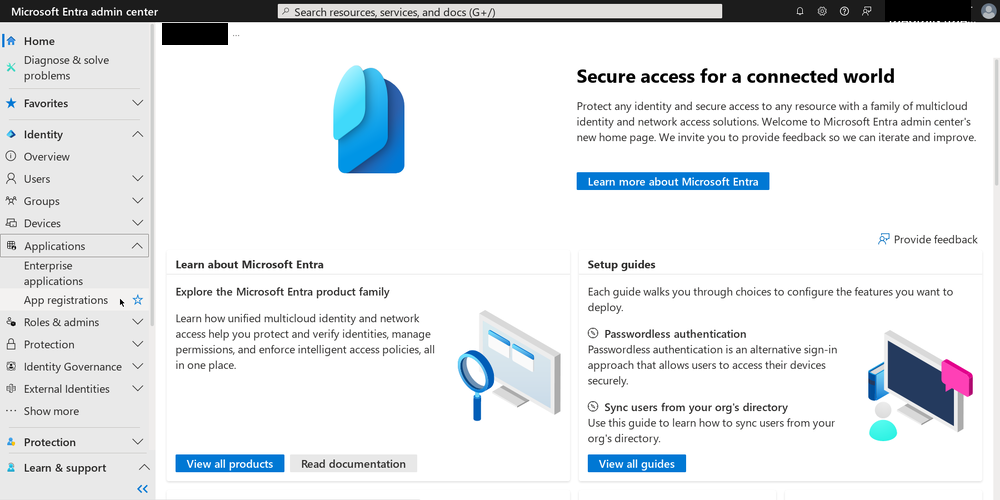
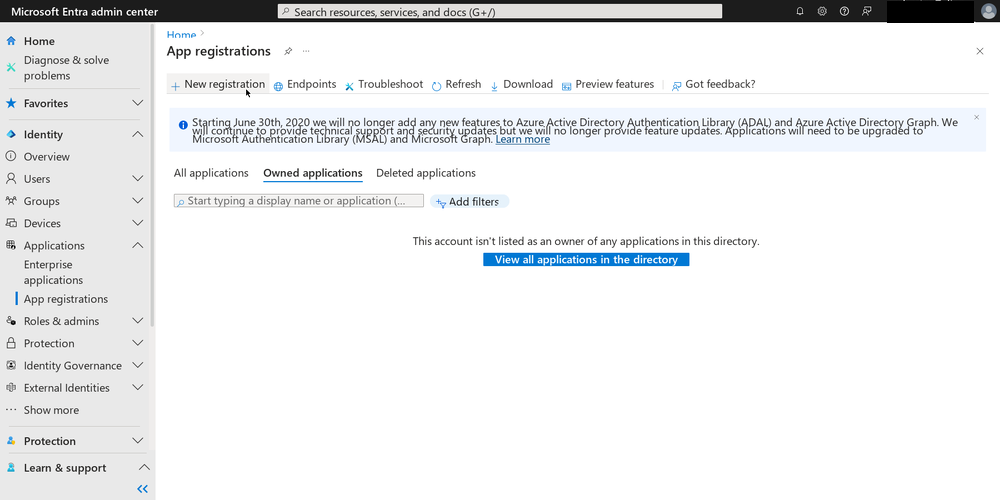
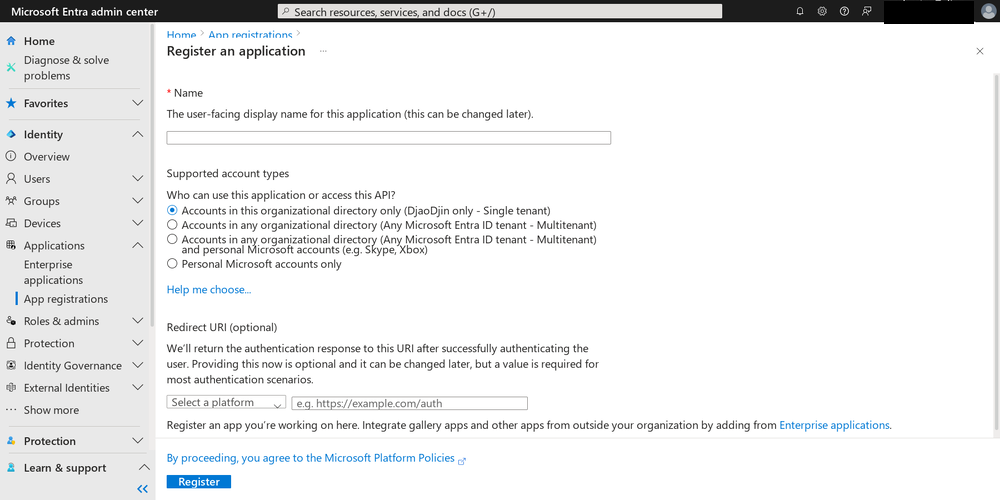
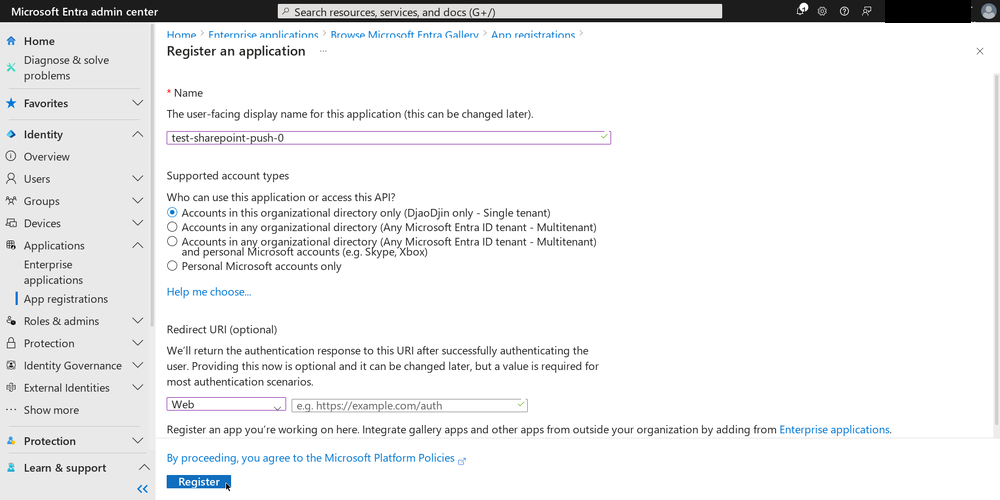
Since this is a headless application, I didn’t set a redirect URI or select a platform. Setting the URI and platform is only required if your application allows interactive logins from real user accounts.
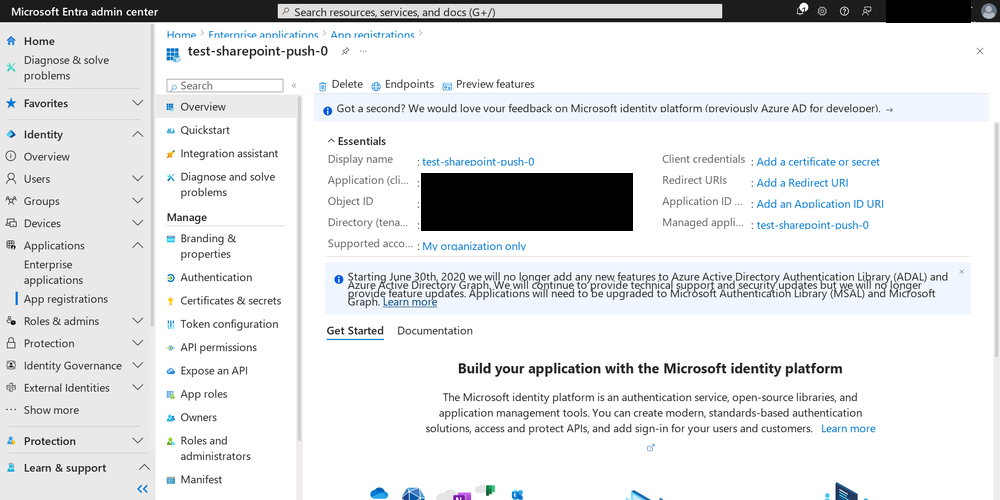
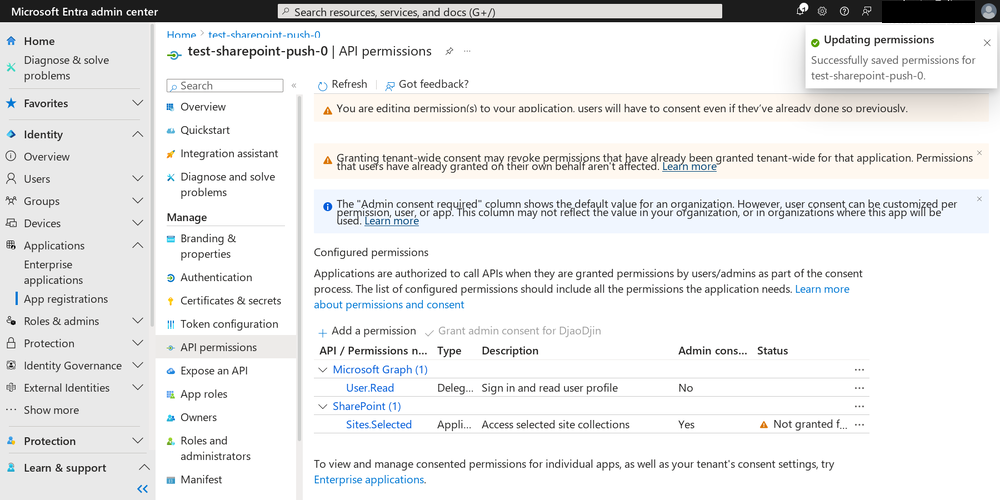
Now click on “API permissions” in the left menu bar, and click on the “Add a permission” button. A new blade will appear. Here you choose the permissions that you will grant to this application.
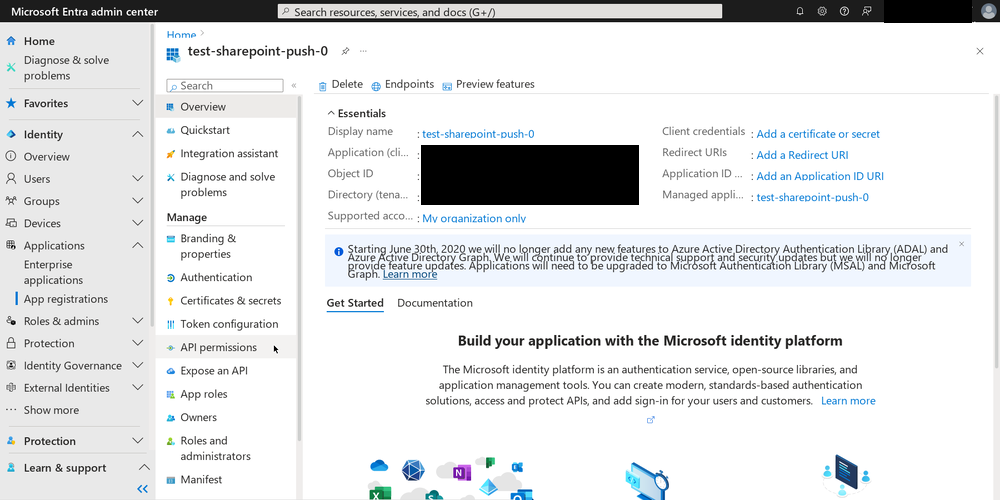
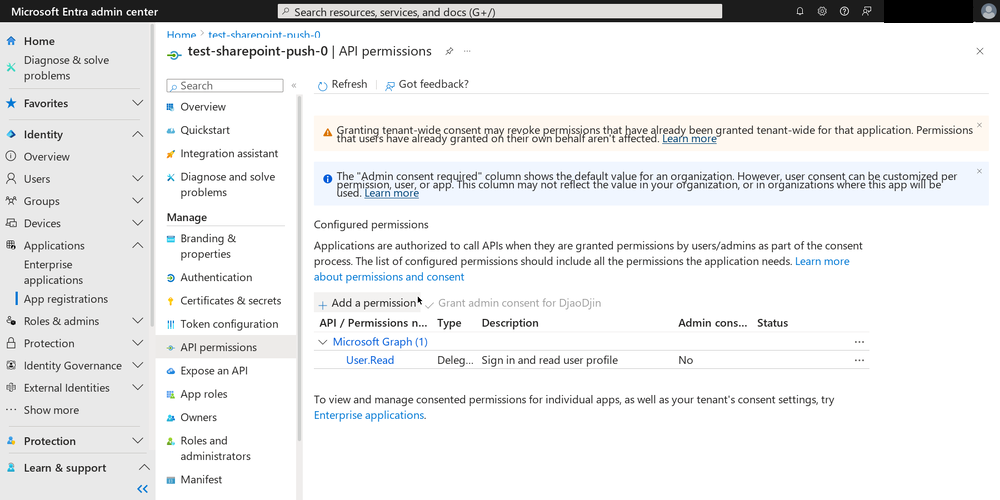
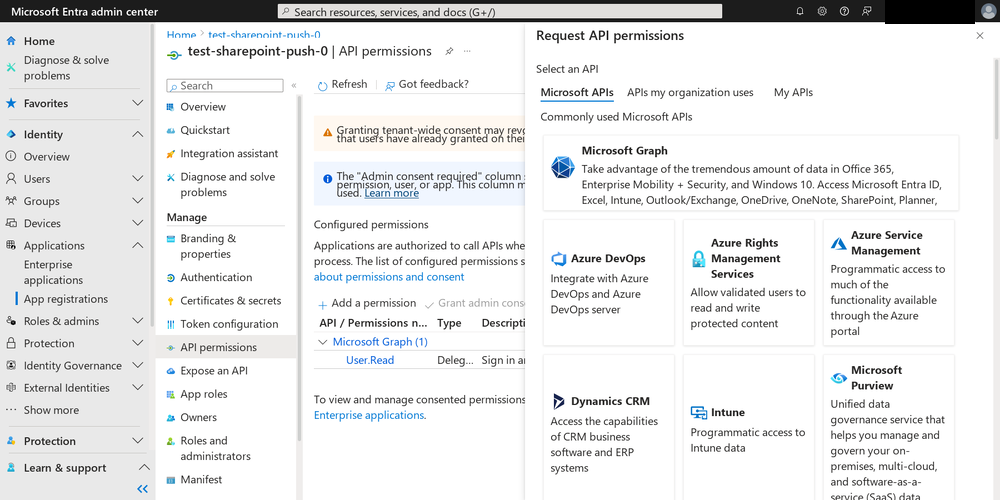
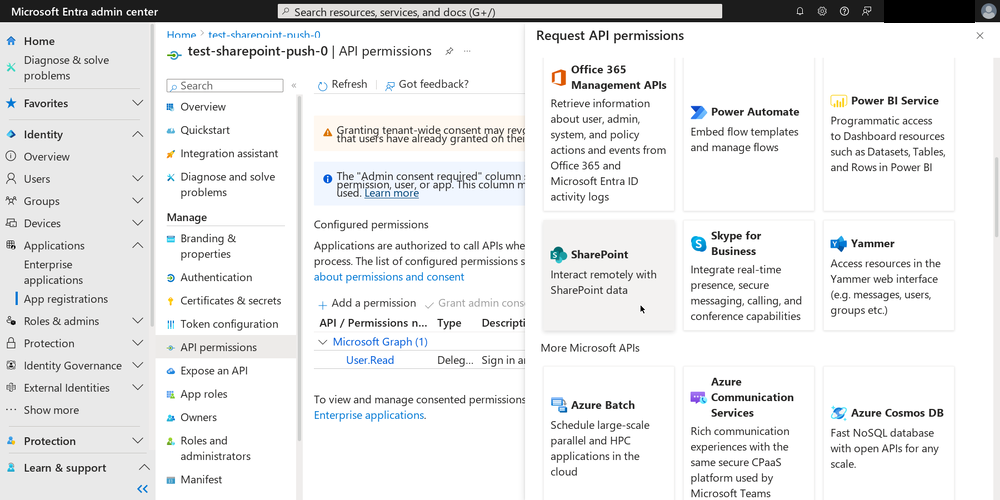
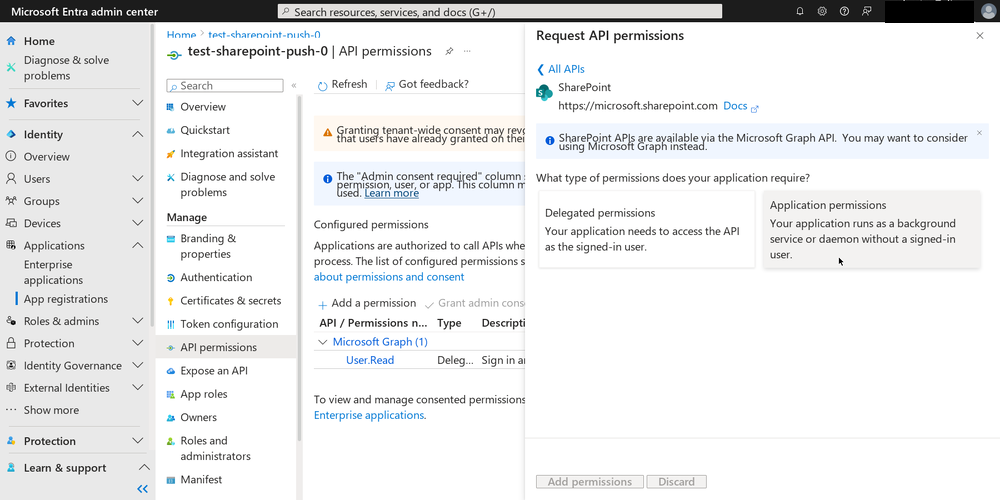
Another place I went off-piste is in selection of permissions granted to the app. There is a more restricted permissions setting called “Sites.Selected”, which enables admins to limit the read and write access of apps to a specific site(s). This seemed safer to me than the “Sites.FullControl.All” suggested by the official documentation.
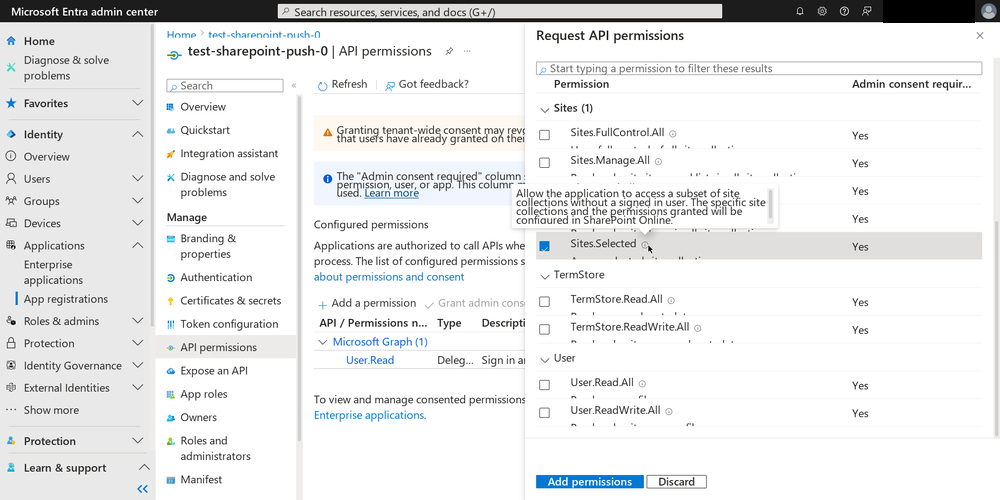
Sites.Selected
The Sites.Selected hover caption claims that the selection of said
sites happens in SharePoint Online; this caption is somewhat
misleading. There is currently no way to select these sites in the
Sharepoint Online UI. It does, however, happen somewhere else, which
we will revisit shortly.
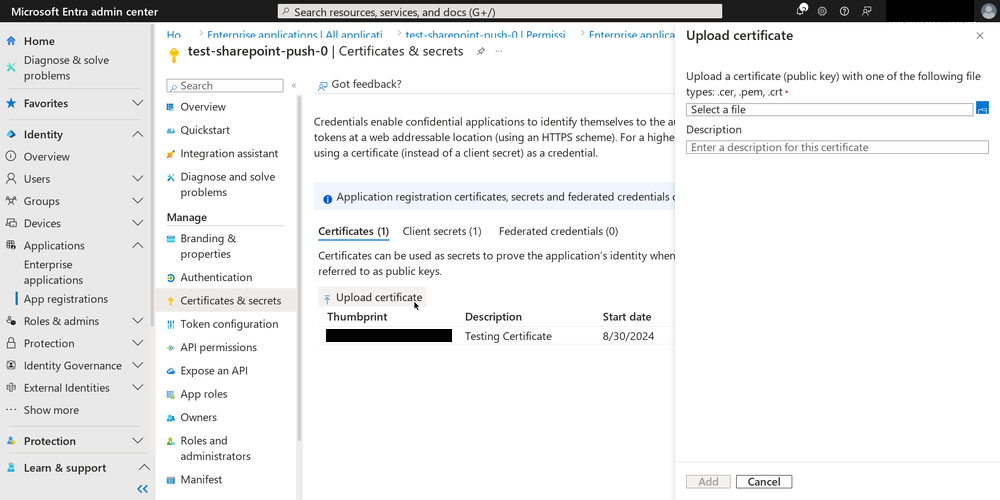
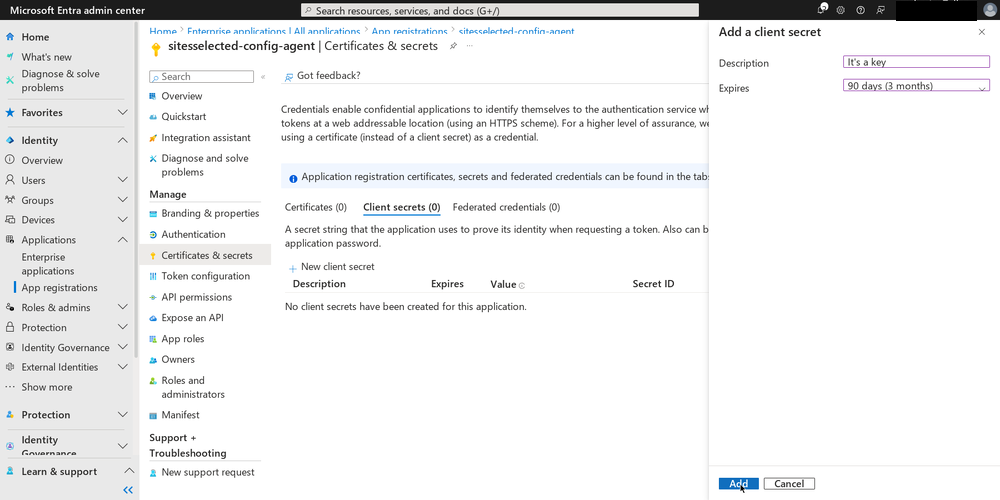
Final step is “connecting” the certificate we created earlier to the application. Click on “Certificates & secrets” in the left menu bar. Click on the “Upload certificate” button, select the .CER file you generated earlier and click on “Add” to upload it.
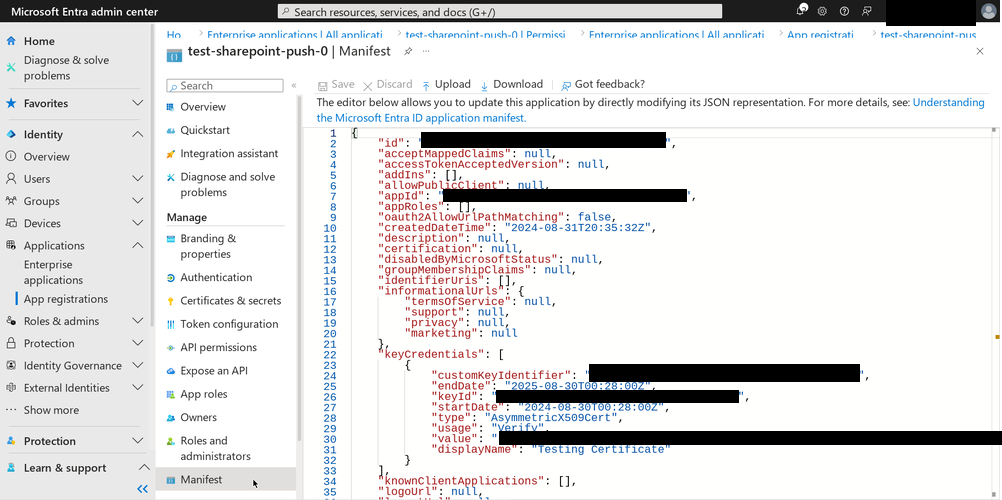
To confirm that the certificate was successfully registered, click on “Manifest” in the left menu bar. Search for the
keyCredentialsproperty.
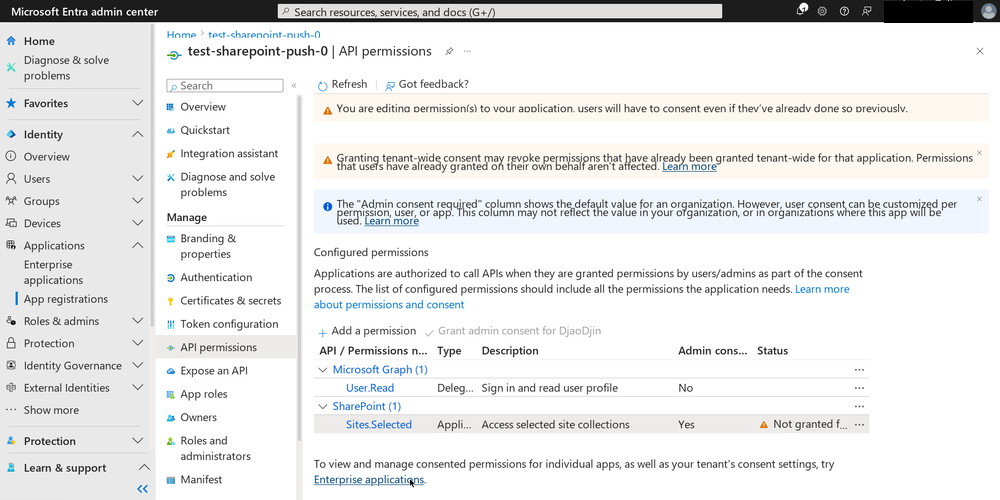
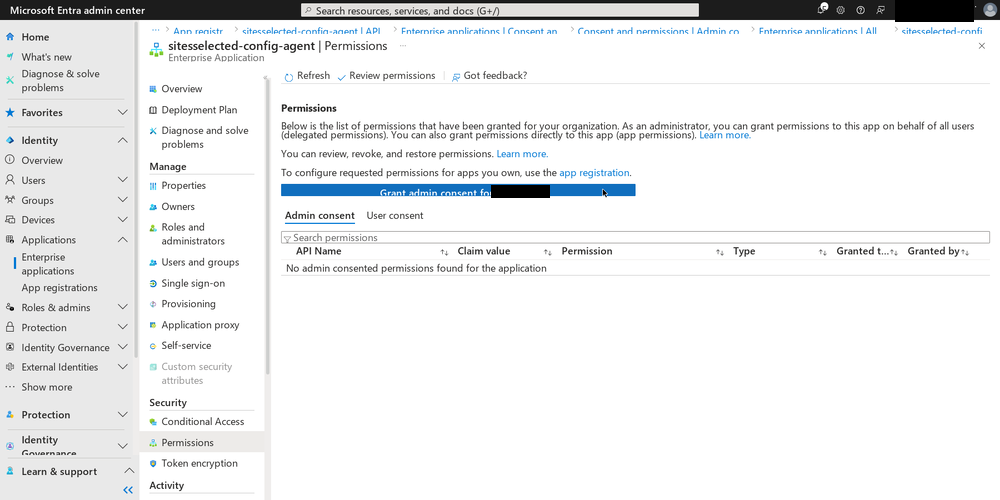
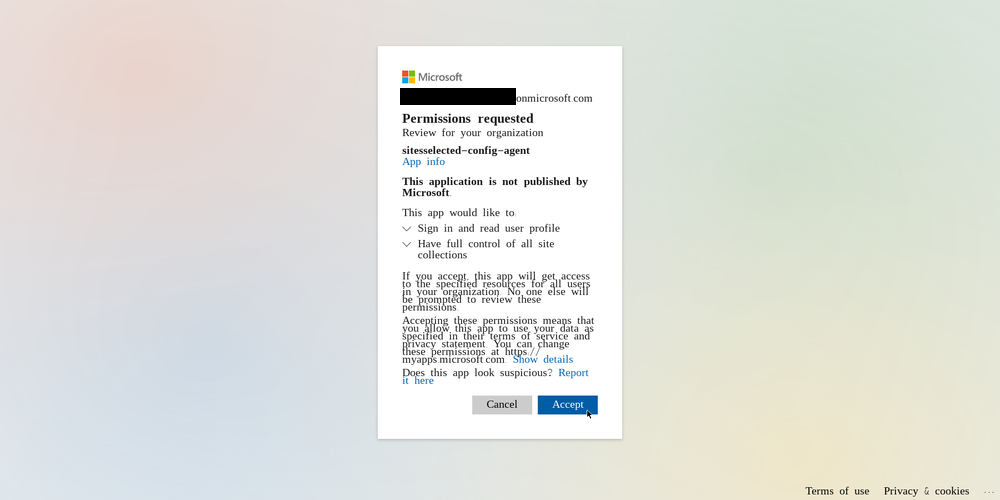
The final thing needed for any permissions selected for the SharePoint API to take effect is “admin consent”. At the bottom of the API Permissions page, there is a link to “Enterprise Applications” which will take you to a page where you can grant admin consent for the API permissions you just set.
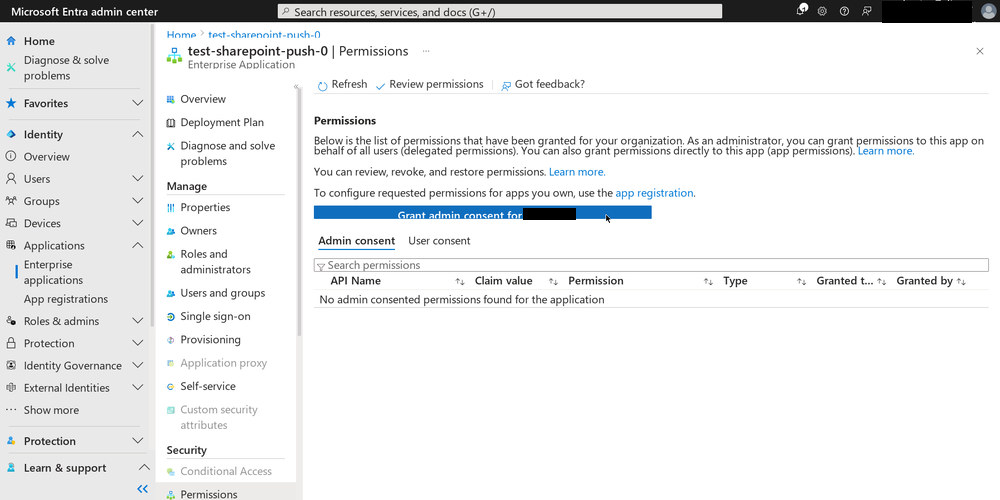

Since my account has the “Sharepoint Admin” role for the entire company SharePoint instance…
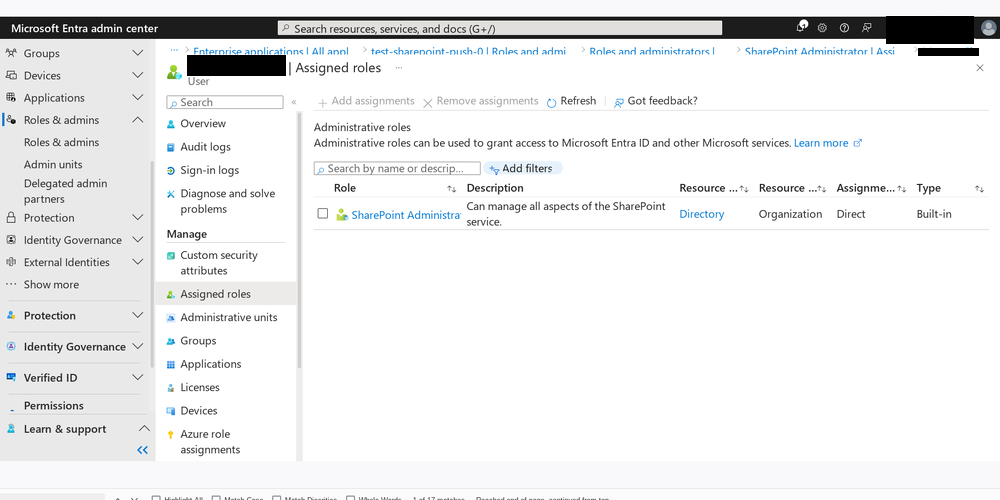
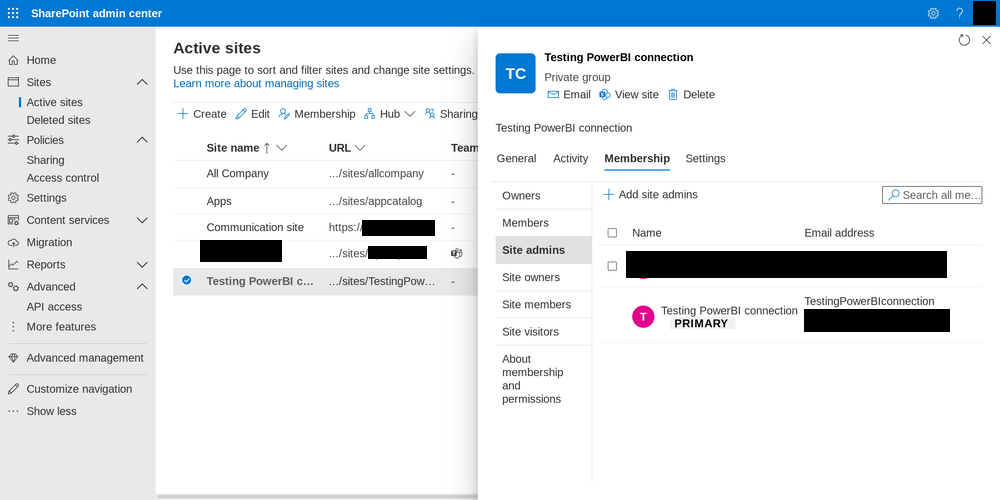
…and is the admin for the site I want to grant access to…
…I don’t have the authority to grant admin consent, obviously.
Does that make sense to you? No? Well, I don’t get it either.
After a second round of account and role troubleshooting, we went with the nuclear option, and I changed my role to “Global Admin”. That finally did the trick.
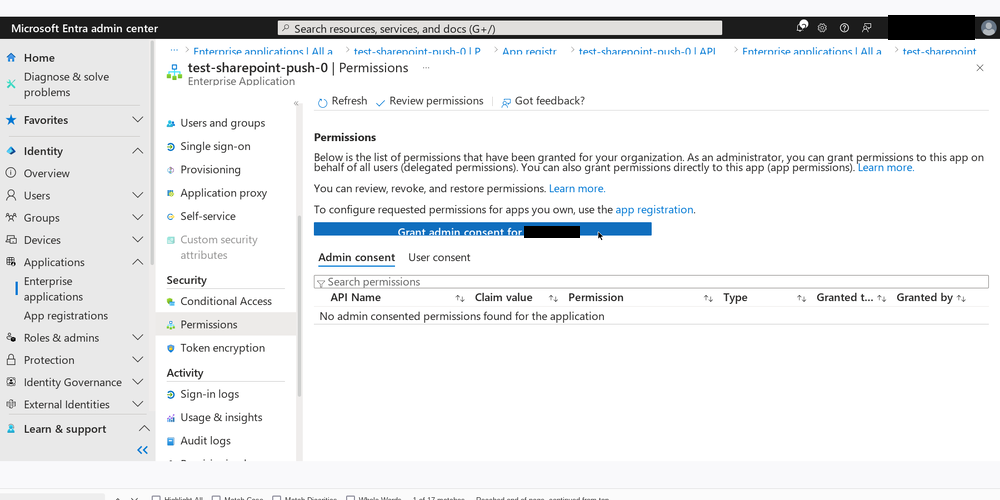
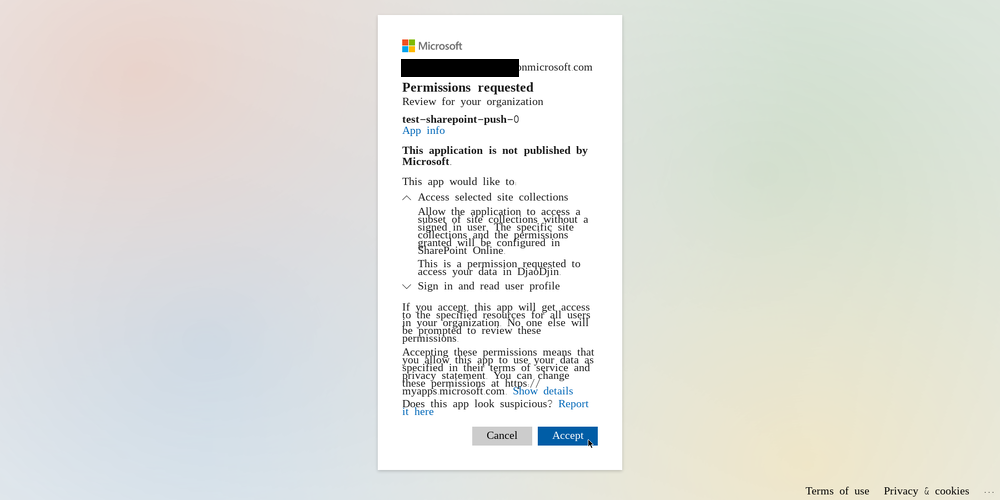
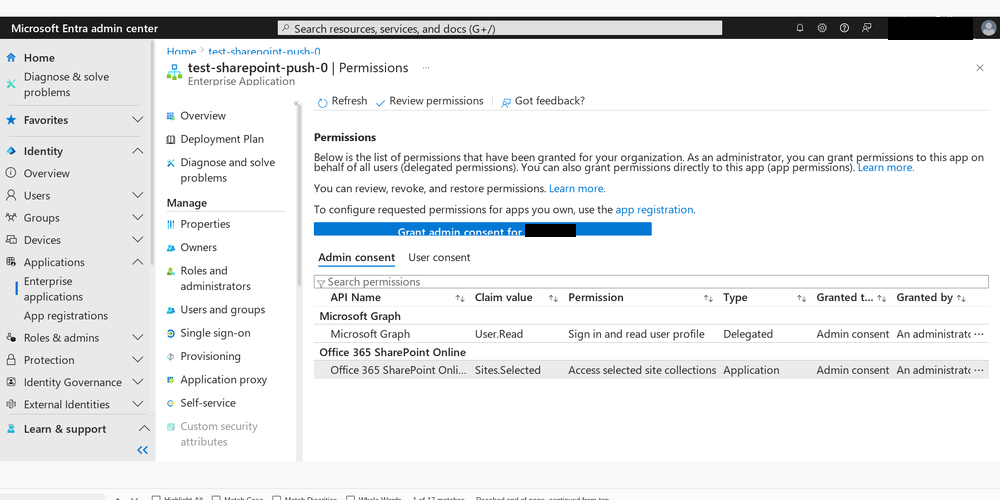
According to this documentation, which I found later, only “Cloud Application Administrator” or higher can grant admin consent.
“I want to play a game”
Having finally consented to myself, I was ready to move on to
selecting those sites for the Sites.Selected permissions I added
earlier. After clicking on nearly everything in the SharePoint admin
portal with no success, I consulted google.
Now for the punchline:
In order to select the sites your app will have access to, you must
create another app and go through the registration process a second
time, giving this new app Sites.FullControl.All permissions to
SharePoint via the Graph API.
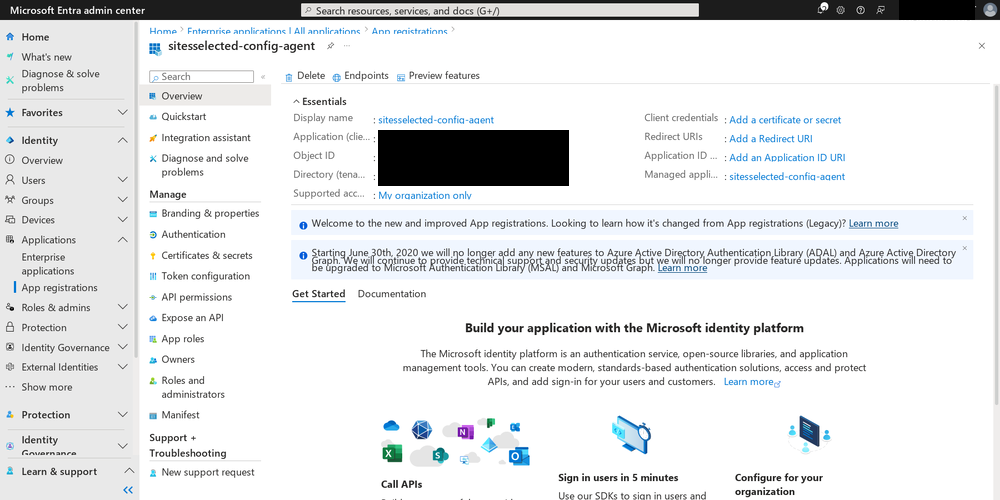
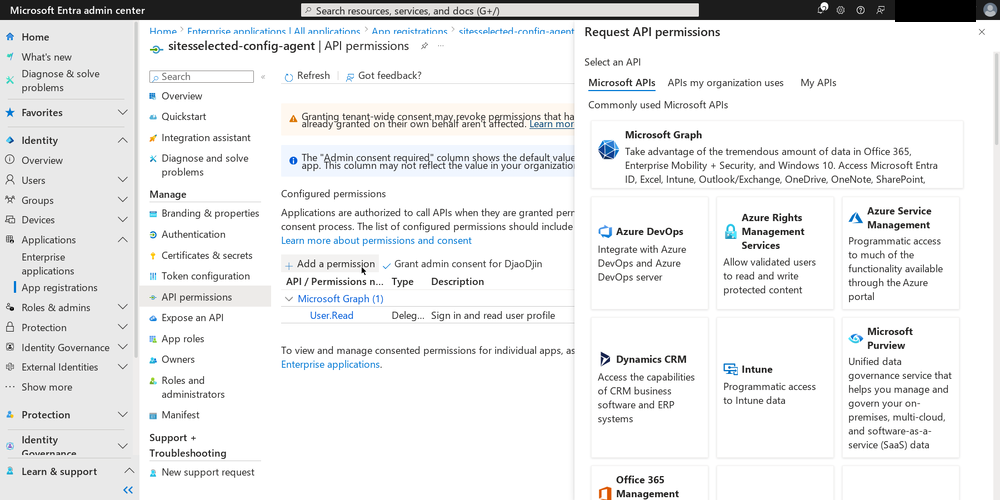
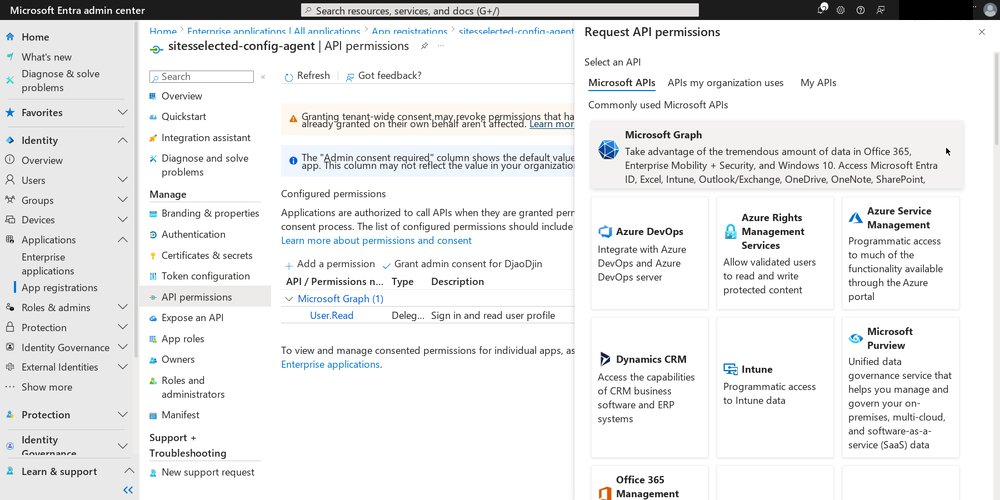
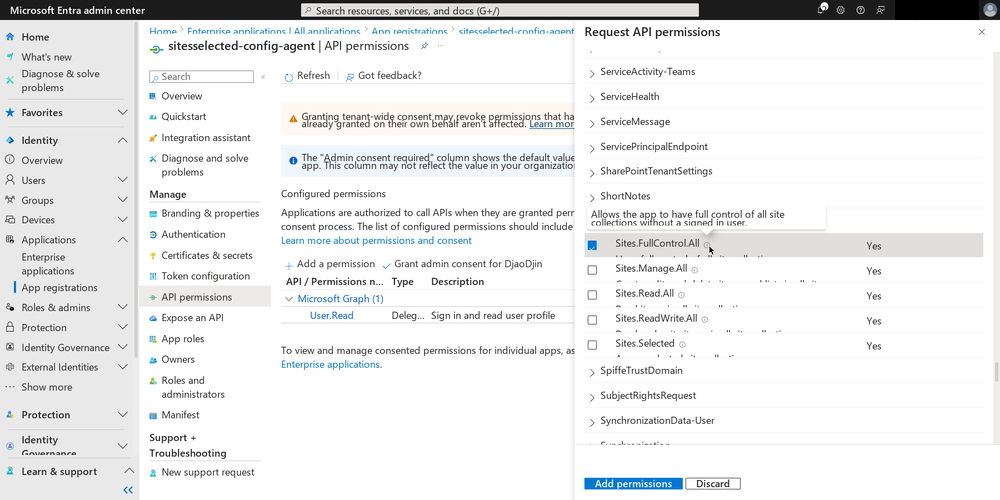
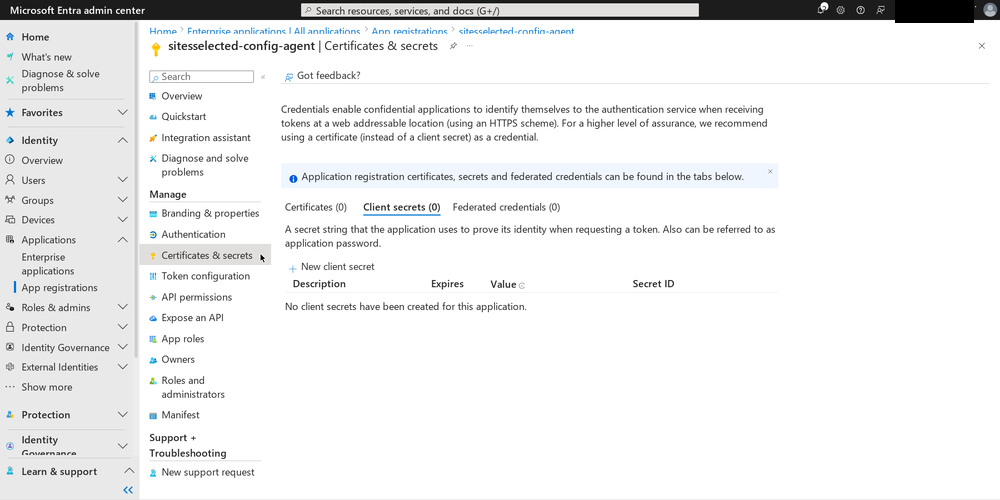
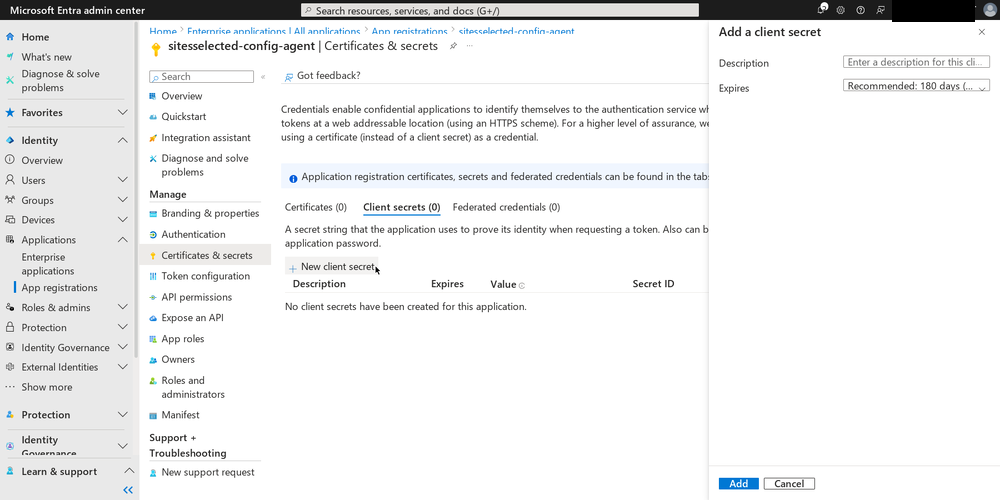
Then, you have to use that app to make a series of calls to the Graph API in order to select the sites you want the first app to have access to. There is no complete, step-by-step guide for this in Microsoft’s official documentation. Instead, I read these documentation pages and blog posts to extrapolate what needed to be done:
- Create a new permission object on a site.
- Develop Applications that use Sites.Selected permissions for SPO sites.
- Controlling app access on a specific SharePoint site collections is now available in Microsoft Graph
- Updates on controlling app specific access on specific SharePoint sites (Sites.Selected)
So, after all that fiddling with admin panels and code-example copypasta, I am announcing a new feature for TSP, right? Well, no.
While in the process of trying to work around a bug in the library I
had chosen, we made a realization: It became obvious to us that if
this process is this frustrating and inconvenient for us to do, we
can expect our customers’ IT departments to get around to doing it
exactly never. In addition, the way Sites.Selected permissions work
is still not as granular as we (and our customers’ security policies)
would like. In an official feature announcement video for the
Sites.Selected permissions (yes, this was actually released around
three years ago), even Microsoft admitted this feature isn’t quite
finished yet, and is awkward to build around as a vendor. We have to
agree—it’s just plain inconvenient for our customers.
All’s well, that ends
So what now? We still plan on supporting this use-case, so we’ll just have to cook up some other way of getting our data into Power BI. We might take a closer look at Entra External ID in the future; perhaps there is something over there that will be closer to what we need.
If someone else out there is building something that justifies using
the approach described in this article, it may be worth it for them to
also check out the first-party msgraph libraries for Python, Go, and
other languages. There are also more resources available here:
More to read
If you interested to learn more about the journey of trying to integrate with Microsoft technology, you might also like to read Connecting an AzureAD SAML provider.
More technical posts are also available on the DjaoDjin blog, as well as business lessons we learned running a SaaS application hosting platform.
