Setting up a DevOps workflow
- Skill required
- Basic Programming Proficiency
Once you have created a site on DjaoDjin, you will be able to login into it and modify the look-and-feel (i.e. theme) of each page live.
As your subscribers start to depend more heavily on your solution, your team grows in people, skills and opinions, your technical co-founders start to ask for source control management, release processes and other workflows that have proven valuable to maintain fast-paced quality updates.
Installation
First you will need to get two API Keys, one to securely connect to your website and one to securely connect to the control panel. from the command line.
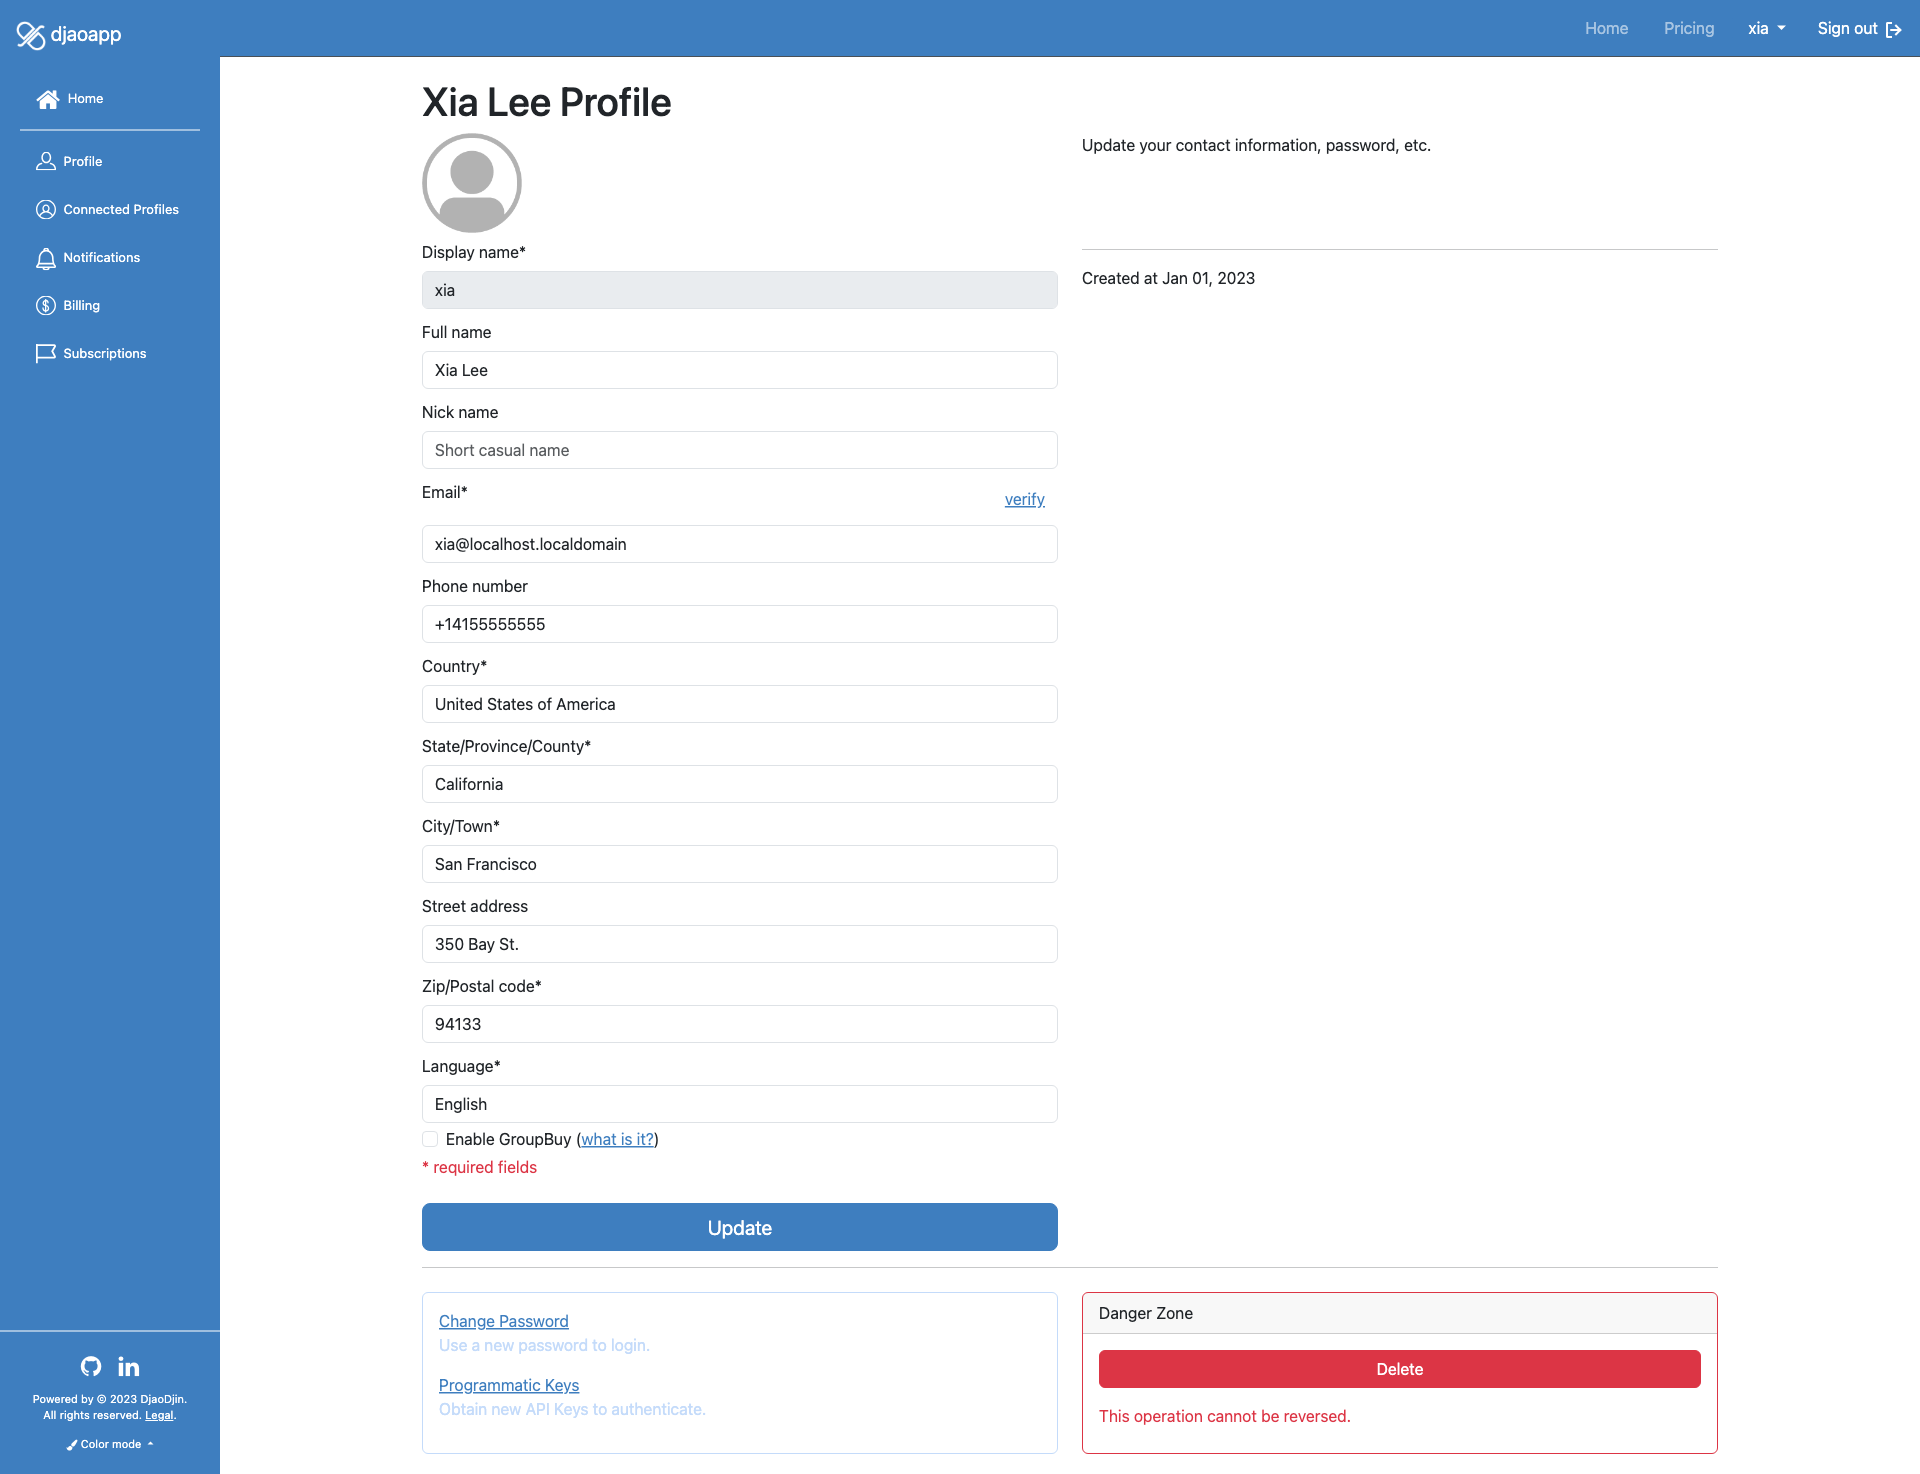
Login to the website your created (ex: livedemo.djaoapp.com), then go to your Profile and click on Reset API Key at the bottom of the page.
Keep a copy of the generated API Key handy and label it “Website API Key”
Repeat the same process on djaodjin.com. Login to djaodjin.com, then go to your Profile and click on Reset API Key at the bottom of the page.
Keep a copy of the generated API Key in hand and label it “Control Panel API Key”

Now that you have the two necessary API keys, it is time to install
In your active virtualenv, type the following
pip install djaodjin-deployutils
Assuming PATH
shell variable, type the following
cd /usr/local/bin
sudo wget https://raw.githubusercontent.com/djaodjin/djaodjin-deployutils/master/src/djd
sudo chmod 755 djd
After the
djd init
The command will created a file in your $HOME directory, called
Please enter an API Key for https://api.djaodjin.com
(see https://www.djaodjin.com/docs/faq/#api-keys for help):
The command first asks your API key for the control panel. Enter the API key labeled “Control Panel API Key” here.
Please enter the name of the project.
By default a project is hosted at *project*.djaoapp.com
(project defaults to livedemo):
The command then asks the name of your project. Enter the subdomain that was given when you created your project on DjaoDjin.
Please enter the account project 'livedemo' belongs to
(default to livedemo):
The command then asks the name of the billed account the project belongs to.
Please enter the domain for project 'livedemo'
(default to: livedemo.djaoapp.com):
The command then asks the domain name of your project website. Unless you have setup a custom domain name, your website is available at project.djaoapp.com, and you can just accept the default choice.
Please enter an API Key for https://livedemo.djaoapp.com
(see https://www.djaodjin.com/docs/faq/#api-keys for help):
The command asks your API key for the project’s website. Enter the API key labeled “Website API Key” here.
saved configuration in $HOME/.djd/credentialsDone! You are ready to start deploying updates to your project’s website from the command line.
Upload a custom theme
You already have made some changes live, or are just getting started and want to download a package of the current theme on your project’s website. Run the following command in the project directory.
djd downloadThe command downloads a zip package of the theme currently installed on the project’s website.
Zip-Package structure
When you extract the downloaded zip package, you will notice the following structure:
-
*package*/-
templates/- All files under the templates directory are HTML or email layout templates. Some file names are reserved and will interact with the reverse-proxy logic (ex: login.html, register.html, pricing.html) otherwise all other HTML files will be served as static HTML pages.
-
public/(optional)- All files in the public directory are static assets (i.e. Plain Old Data) to be served to the browser client. These includes stylesheets (.css), javascripts (.js), fonts, images and other media.
-
cowork-v1.0/
    templates/
        index.html
        accounts/
            login.html
    public/
        favicon.ico
        static/
            base.css
You can edit any files, repackage the zip file, and upload it to the project’s website to change the current theme.
djd upload package.zipTo get started with customization, see the structure of the default theme »
When you are modifying root templates, like
base.html for example, you may inadvertently break the dashboard and become unable to access the theme page to upload a fix. You can always remove all custom templates and reset to the default theme but you will need an API key in order to trigger the reset (remember most or all functionality might not be accessible through a Web Browser after a broken theme was uploaded).It thus recommended you obtain an API key before starting to deploy custom themes. To reset to the default theme, call the Removes custom theme API. For example:
bashcurl -i -u *api_key*: -X DELETE https://*mydomain*/api/themesIf you are hardcore, you can also upload a new theme directly through an API call:
bashcurl -i -u *api_key*: -X POST -F file=@*package*.zip https://*mydomain*/api/themes
Deploy server-side business logic
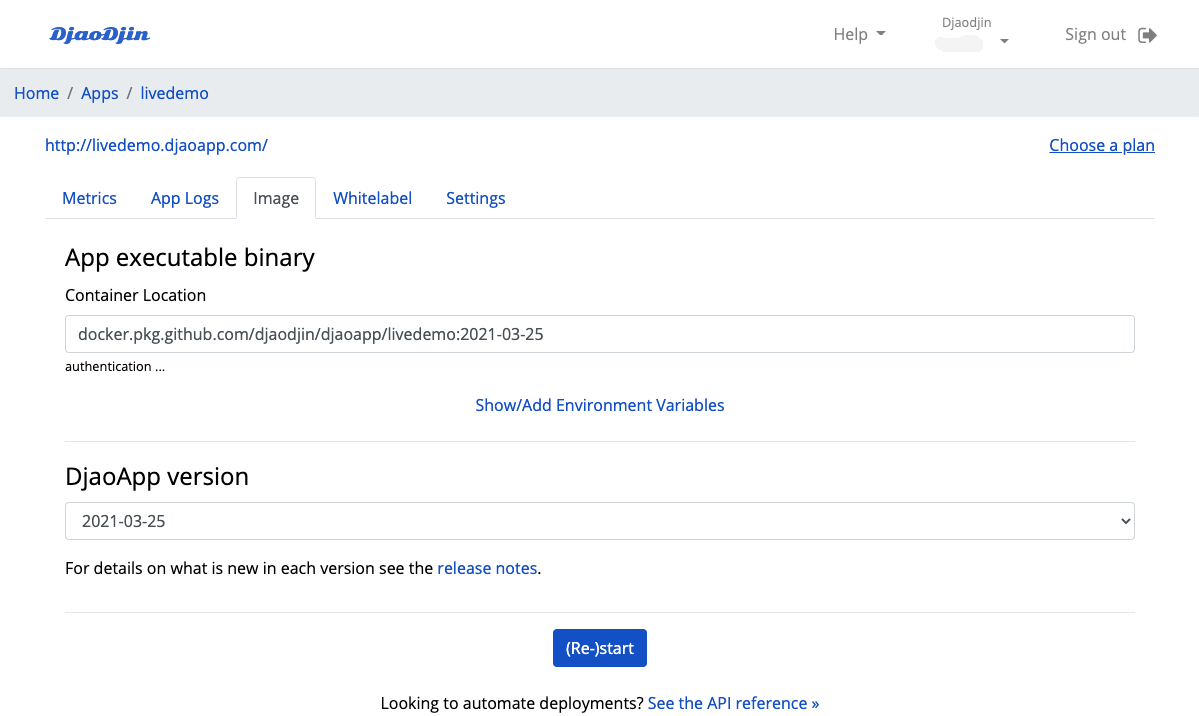
If you are deploying custom business logic for your project as a server-side compoment, the first steps are to configure the container image in the control panel. You will need
-
- A container location
- i.e. where the Docker image has been uploaded (ex:
ghcr.io/djaodjin/djaopsp/livedemo:main ). -
- Authentication credentials for the Docker repository
- (if required)
-
- Runtime Environment variables
- (if any)

You typically only need to configure the settings to run your server-side container only one. To deploy a new version, rebuild a container and upload it to the repository. For example:
docker build .
docker tag IMAGE_ID docker.pkg.github.com/account/project/livedemo:TAG_NAME
docker login docker.pkg.github.com -u USERNAME -p TOKEN
docker push docker.pkg.github.com/account/project/livedemo:TAG_NAME
Then run the following command:
djd deploy- Looking to use your favorite container registry?
Going further ...
Looking to automate deployments further? See the API reference »
- Need help?
- Contact us
- Curious how it is built?
- Visit us on GitHub