Create and test content locally
- Skill required
- Basic Web Programming
In this tutorial, we will see how to setup an edit/run/debug cycle on a local developer machine to create gated content on a DjaoDjin-hosted Website.
Of course, you can bypass the local install altogether, and create and edit pages online directly. Since we will be adding JavaScript functionality later on and developers like to test things on their machines first, we will be go through the loop of downloading the default theme, adding an HTML page and uploading the updates to the Website here.
Prerequisites:
- URL for a Website hosted on DjaoDjin (ex: livedemo.djaoapp.com) - Register
- API Key to connect the hosted Website (ex: ABC***123) - How do I get my API Keys?
Notes on command line snippets
On command line snippets, lines starting with a $ character indicate
a shell prompt, or a command for you to type. Lines that do not start
with a $ character show a sample output from that command.
Example:
$ whoami
ec2-user
Text edits within source files are shown in universal diff format with lines preceded by a '-' sign to be removed and lines preceded by a '+' sign to be added. Example:
 def set_default_profile():     # This line for context, to be kept as-is
-    profile = 'abc'            # This line to be removed
+    profile = 'cde'            # This line to be added
     return profile             # This line for context, to be kept as-is
The full source code for this tutorial is available on GitHub.
Setting up
We will use FastAPI to run the local Webserver. We thus create a skeleton FastAPI application that serves HTML pages rendered from Jinja2 templates.
$ python -m venv .venv
$ source .venv/bin/activate
$ pip install fastapi "uvicorn[standard]" Jinja2
Create a file main.py that loads Jinja2 templates and returns HTML pages
based on the URL path.
#!/usr/bin/env python

import os
from fastapi import FastAPI
from fastapi.responses import FileResponse, HTMLResponse
from jinja2 import Environment, PackageLoader, select_autoescape
from jinja2.ext import i18n

DJAOAPP_SUBDOMAIN = "*subdomain*"

app = FastAPI()

env = Environment(
    loader=PackageLoader(DJAOAPP_SUBDOMAIN),
    autoescape=select_autoescape(),
    extensions=[i18n]
)
env.install_null_translations()

def prefix_filter(path):
    if not path.startswith('/'):
        path = '/' + path
    return path

env.filters['asset'] = prefix_filter
env.filters['site_url'] = prefix_filter

# Serves the homepage, i.e. http://127.0.0.1:8000/
@app.get("/", response_class=HTMLResponse)
def read_root():
    return read_page('index')


# Serves the favicon
@app.get("/favicon.ico")
def read_favicon():
    return FileResponse(os.path.join(
        DJAOAPP_SUBDOMAIN, 'public', 'favicon.ico'))


# Serves public static assets such as .css and .js files.
@app.get("/static/{asset_path:path}")
def read_asset(asset_path):
    return FileResponse(os.path.join(
        DJAOAPP_SUBDOMAIN, 'public', 'static', asset_path))


# Serves HTML pages, i.e. http://127.0.0.1:8000/{page}/
@app.get("/{page:path}/", response_class=HTMLResponse)
def read_page(page):
    template = env.get_template("%s.html" % page)
    return template.render(urls={})
Download default theme
We will first install and configure the command-line helper tools from DjaoDjin,
djd.
$ pip install djaodjin-deployutils
$ djd init
Please enter the name of the project.
By default a project is hosted at *project*.djaoapp.com
(project defaults to htmlpage): _livedemo_
Please enter the account project '_livedemo_' belongs to
(default to _livedemo_): _livedemo_
Please enter the domain for project '_livedemo_'
(default to: _livedemo_.djaoapp.com):
Please enter an API Key for https://auth.djaoapp.com
(see https://www.djaodjin.com/docs/faq/#api-keys for help): _ABC***123_
saved configuration in $HOME/.djd/credentials
We then now download the default theme from our DjaoDjin Website.
$ djd download
read configuration from $HOME/.djd/credentials
INFO:deployutils.copy:GET https://_livedemo_.djaoapp.com/themes/download/ returns 200
INFO:deployutils.copy:saves downloaded theme in _livedemo_.zip
It remains to install the templates and static assets (i.e. CSS, Javascript)
for our FastAPI Webserver to be able to find them.
$ unzip _livedemo_.zip
We are ready to process Jinja2 templates and serve HTML page. We still need
to check the local server will find them, so we edit main.py to reflect where
the templates were unzipped:
-DJAOAPP_SUBDOMAIN = "_subdomain_"
+DJAOAPP_SUBDOMAIN = "_livedemo_"
Finally we run the server with:
$ uvicorn main:app --reload
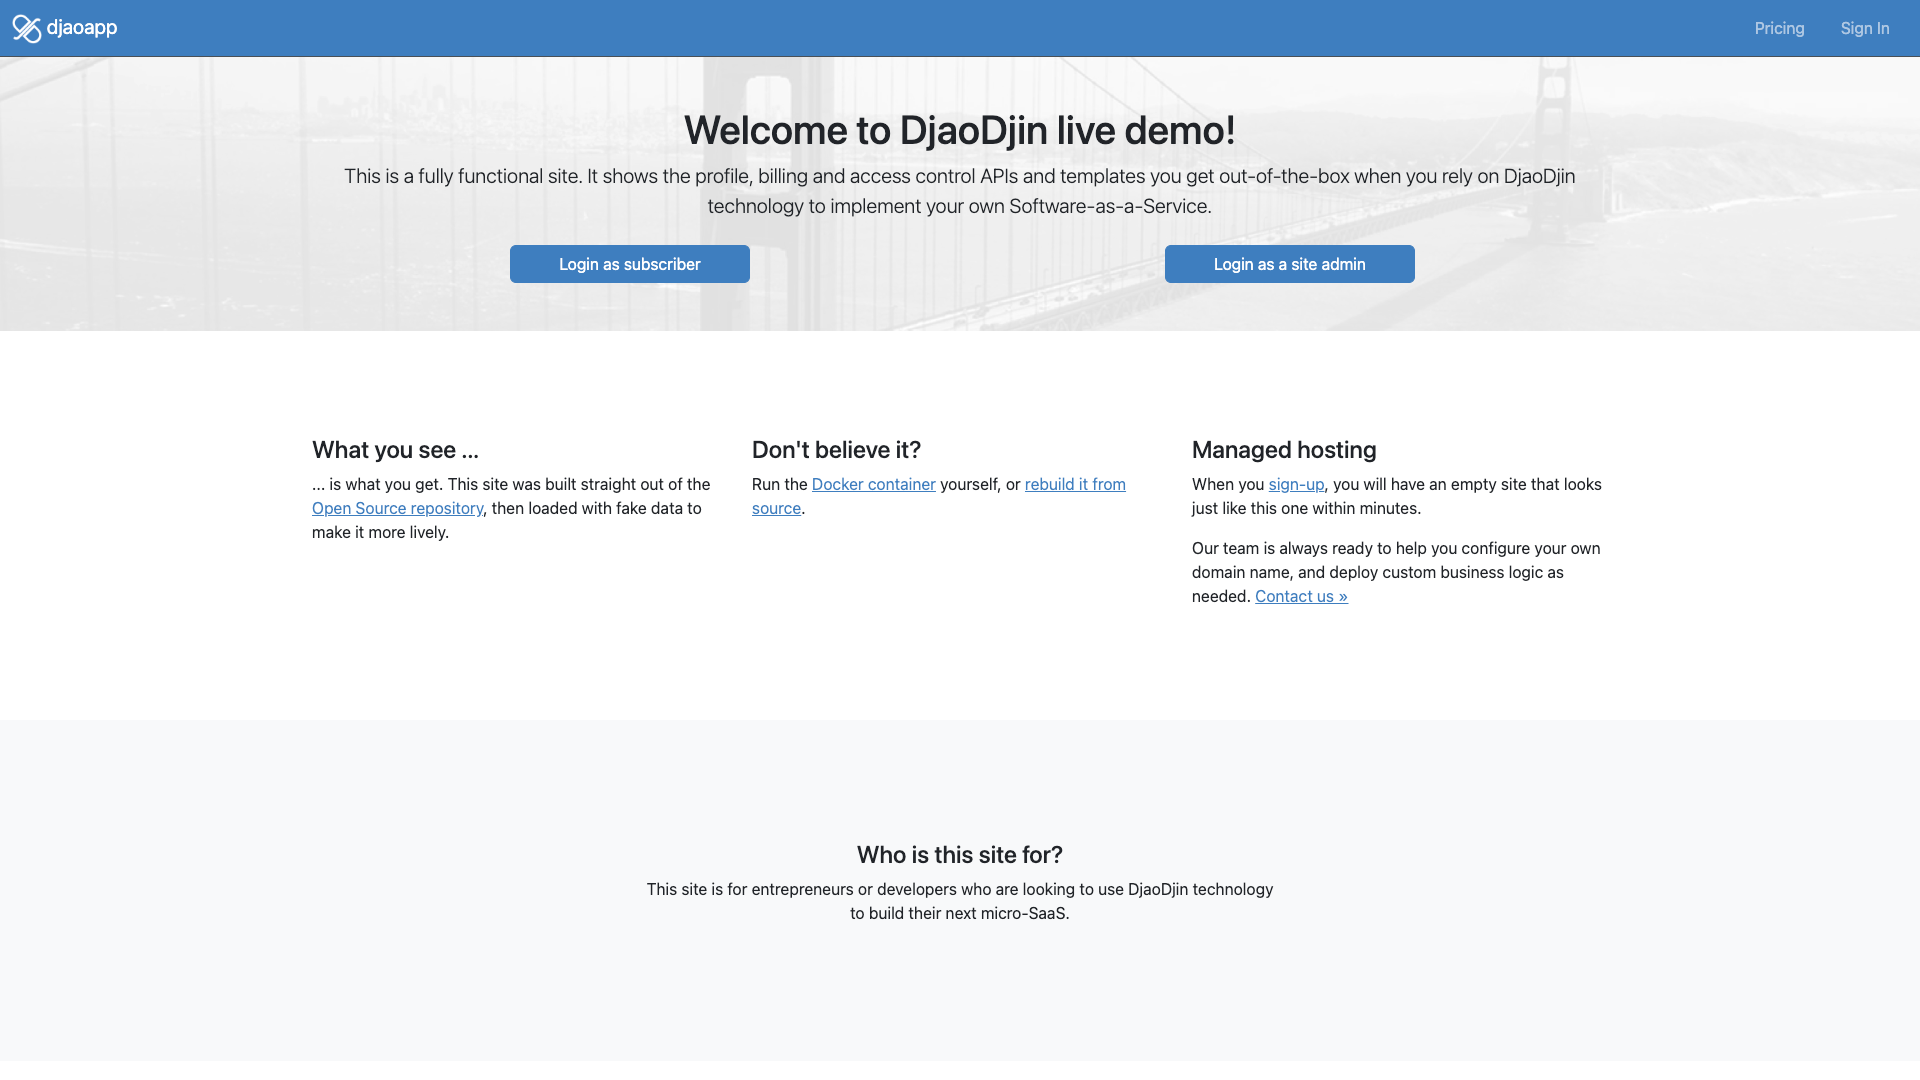
We now open our favorite browser and go to the URL indicated above
in the ouptut of uvicorn main:app --reload (i.e.
http://127.0.0.1:8000/ in this case). When the page loads properly
you will see something like the following screenshot.

Create a gated-content page
The content page we will require users to authenticate before they
can access it will be at URL https://_livedemo.djaoapp.com_/app/,
so we create a file "livedemo/templates/app.html" locally.
{% extends "base.html" %}

{% block content %}
<h1 class="text-center">Hello World!</h1>
{% endblock %}
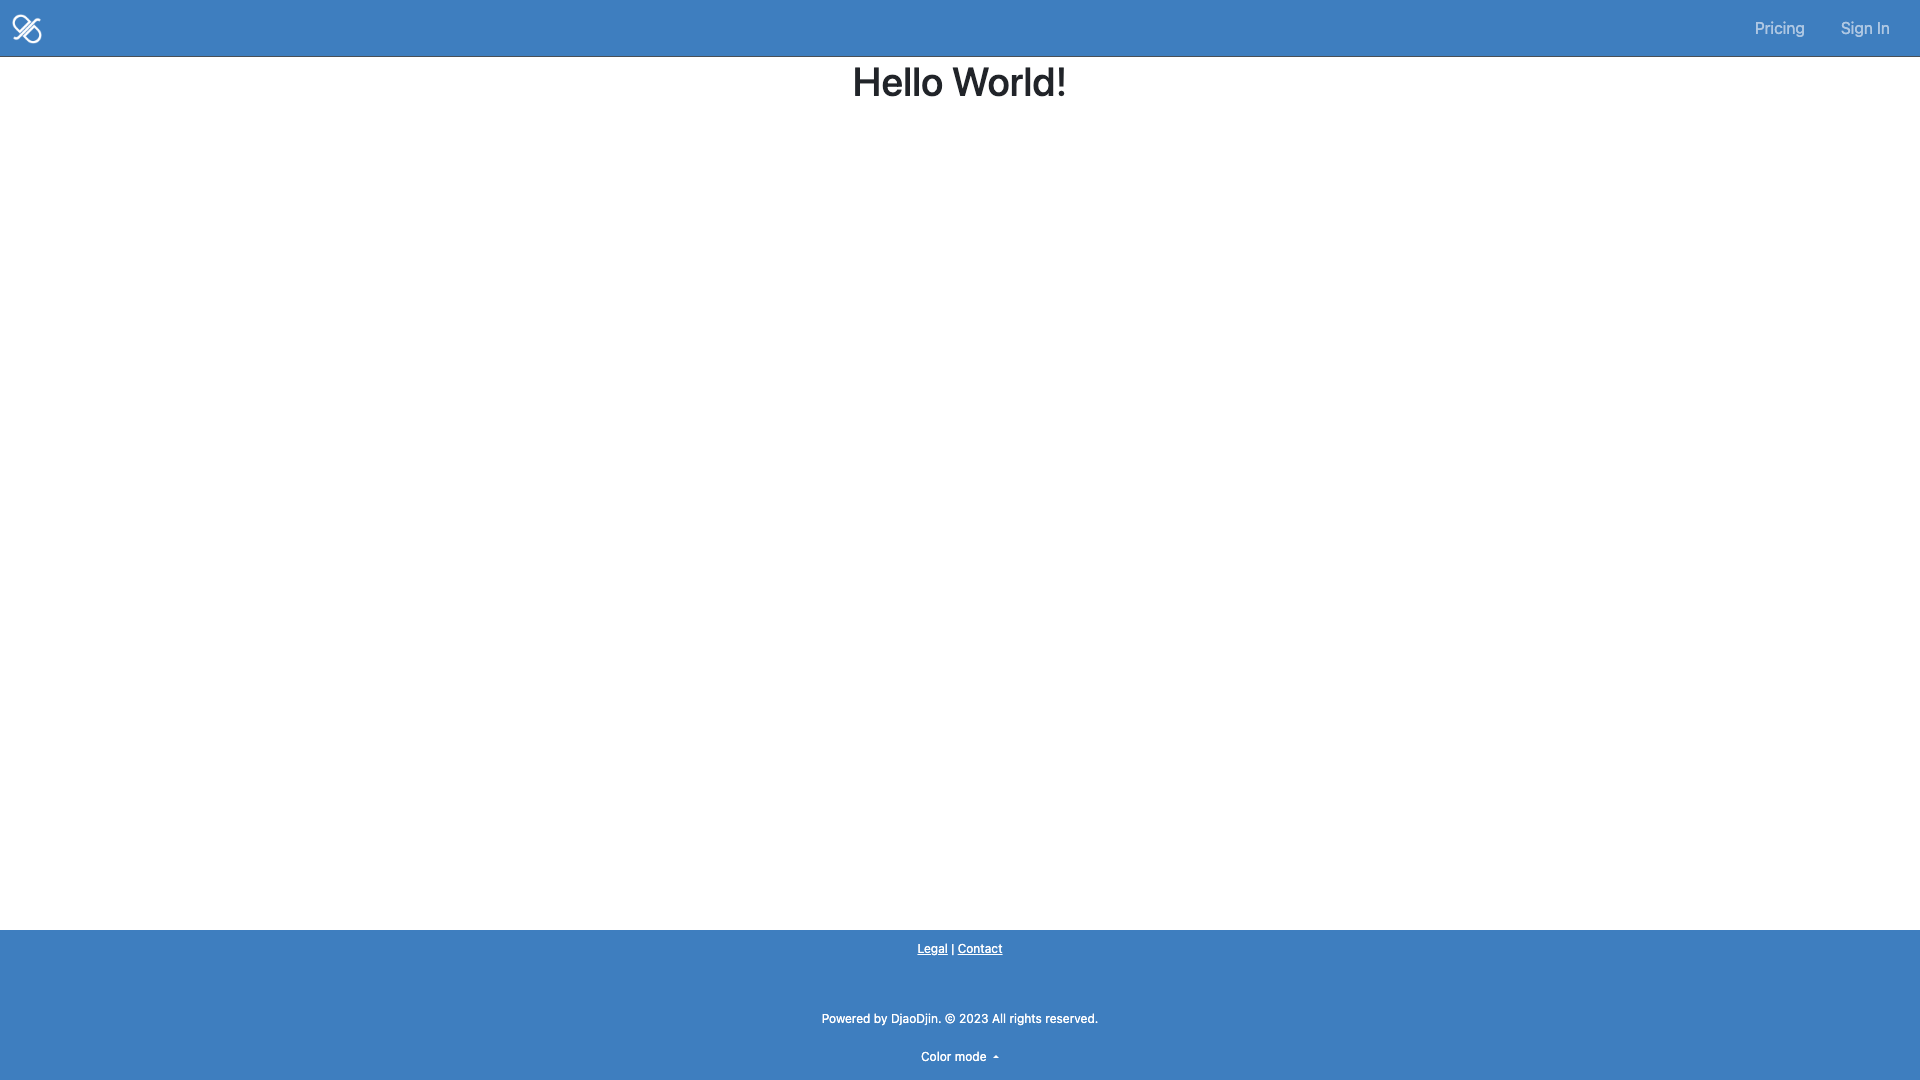
We run the server (uvicorn main:app --reload) and browse to the app page
we just created:
http://127.0.0.1:8000/app/
When the page loads properly you will see something like the following screenshot.

Upload theme updates
The page looks good so let's publish it. To do so we run the command
$ djd upload _livedemo_/templates
This creates a "livedemo.zip" file that is then uploaded to the themes API endpoint.
You can learn more about the structure of the .zip file in Setting up a DevOps workflow.
Gate the content page
Now that we are able to see our page on a public URL (ex: https://livedemo.djaoapp.com/app/), we will add an access rule so only authenticated user can see it.
To do so, we browse to our DjaoDjin-hosted Website Rules dashboard, i.e. click on Settings in the menu dropdown, then Rules in the left sidebar.
- Click "+ Add Access Rule..." underneath the table to add an access rule.
- Type /app as the path name (i.e. the URL path of the gated page).
- *Click on the drop down under Access Rule next to the newly created path /app and select "Authenticated".
To learn more about the various access rules options available, read the The Access Rules Dashboard guide.
After we added the access rule, when we try to browse to the /app page, we are now be presented with a login page. Et voila!
Summary
The pages on your DjaoDjin-hosted Website are written as Jinja2 templates, so it is very efficient to build scaffolding for menubars, footers, etc. in a "base.html" template file, and only have the relevant content in each content page.
You can use the default theme as a starting point for your own design.
You should not worry about permissions and access rules when developing pages locally. Just focus on the design. It is always time before publication to review the access rules, conveniently centralized in the The Access Rules Dashboard.
Designing beautiful and functional HTML pages is beyond the scope of this tutorial. If you are interested, we list interesting resources about SaaS UX Design here.
- Need help?
- Contact us
- Curious how it is built?
- Visit us on GitHub